

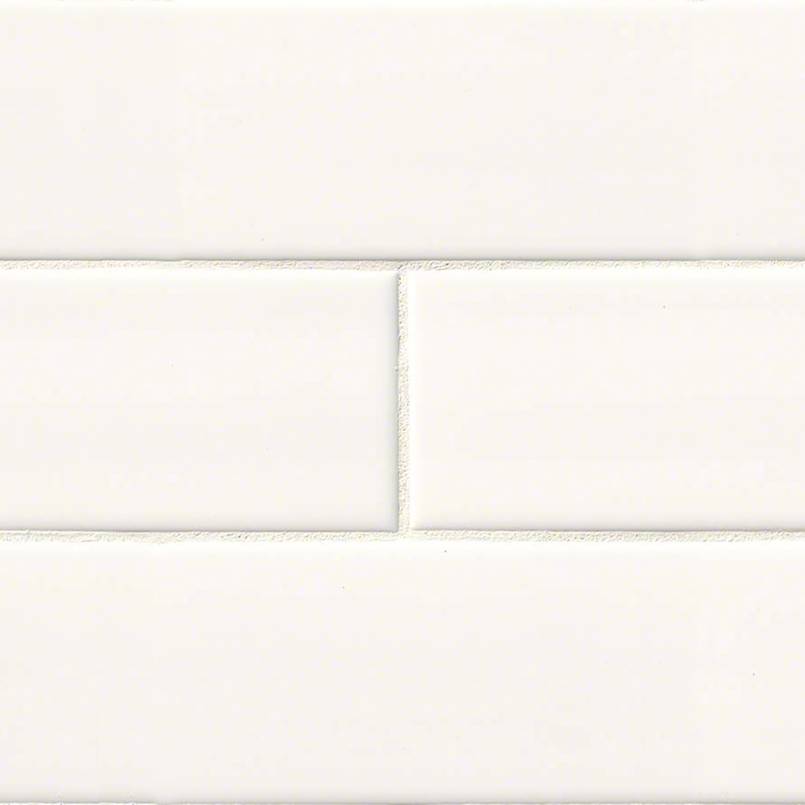
White Glossy 4x12 Porcelain Bathroom Floor & Wall Tiles
-
 White Matte 2x2 Mosaic
-
 White Glossy 2x2 Mosaic
-
 White Matte 4x24 Bullnose Tile
-
 White Glossy 4x24 Bullnose Tile
-
 White Glossy 3x6 Tile
-
 White Glossy 3x6 Beveled Tile
-
 White Glossy 3x6 Bullnose Tile
-
 White Glossy 3x6 Inverted Beveled Tile
-
 White Glossy 4x12 Tile
-
 White Glossy 4x12 Bullnose Tile
-
 White Glossy 4x16 Tile
-
 White Glossy 4x16 Bullnose Tile


-
White Matte 2x2 Mosaic
-
White Glossy 2x2 Mosaic
-
White Matte 4x24 Bullnose Tile
-
White Glossy 4x24 Bullnose Tile
-
White Glossy 3x6 Tile
-
White Glossy 3x6 Beveled Tile
-
White Glossy 3x6 Bullnose Tile
-
White Glossy 3x6 Inverted Beveled Tile
-
White Glossy 4x12 Tile
-
White Glossy 4x12 Bullnose Tile
-
White Glossy 4x16 Tile
-
White Glossy 4x16 Bullnose Tile
Description
White Glossy 4” x 12” Porcelain Tile will accent your space walls with a brilliant luster and smooth edges. As an advanced version of the classic subway format, this white tile is now available in the larger 4” x 12” size which makes the space appear more sleek and larger while preserving its traditional appeal. Alongside sharpened illumination, the gloss finish also enhances light diffractor making this tile suitable for both confined and expansive areas.
This backsplash tile porcelain trim is exceptionally durable, making it prudent for use around showers, bathrooms, and even fireplaces. This tile will modernize your residential or commercial property vertically whether placed in stacked, brick, or herringbone patterns with its elegance and effortless maintenance whilst also offering water resistance.
- Size: 4” x 12”
- Finish: Glossy
-
Material: Porcelain
-
Ideal For: Backsplashes, shower walls, bathroom wainscoting, fireplace surrounds, accent walls
Installation
MATERIAL INSPECTION
Our stones are natural products. For this reason, there will be naturally occurring variations in the color, pattern, texture, and veining that may differ from what was pictured. Before you begin installation, please inspect the goods for any damage or defects such as chipped edges, broken pieces. We cannot make any adjustments or provide service after the installation has begun.
INSTALLATION
We recommend that you dry-fit your pattern first. Think about the cuts in advance and visualize the installation. Make sure that you practice laying out the pattern. This will also help you plan out the placement of the pieces, which is especially helpful with tiles that have a lot of variation.
To avoid affecting the color of the tile, we highly recommend using white thinset mortar. For faster installation, use a rapid curing thinset mortar.
- Apply as much adhesive as can be covered within 10-15 minutes.
- Grout joint should be a minimum of 1/16” and not butt set.
- Use a 3/16" or 1/4" square notch trowel when installing our marble material
- Prior to fixing the tiles in the mortar bed, use the flat side of the trowel prior to smooth down the ridges.
GROUTING
- For all-natural stone, we suggest using non-sanded grout in order to prevent scratching.
- Before grouting, test an area to make sure the stone surface will not scratch.
- Grout joints should be packed full. Do not leave pits or voids.
- Clean excess grout as you work. Do not let it harden completely.
- Never use acids to clean grout haze.
- Use a damp sponge for the final cleaning and to smooth out the grout joints.
- We highly recommend applying grout release prior to grouting the tile to facilitate cleaning and for protection against staining from contrasting color grouts.
SEAL
After the stone is installed and grouted, seal the stone with an appropriate high-quality breathable stone sealer. This will minimize the potential for water absorption, efflorescence, and staining. If needed, a color enhancer may be applied to bring out the true color of the stone at any time after grouting. You may choose to reseal the tile when the stone gets darker or as needed.
CUTTING
For the best results, use a wet-saw with a new, continuous rim diamond blade designed to cut marble. Do not use “turbo” or other notched blades designed for use with porcelain or ceramic: such teeth can result in a coarse cut, leading to a heavily chipped edge.
CARE AND MAINTENANCE
For normal care and maintenance of stone tiles, clean stone surfaces with a few drops of neutral cleaner, stone soap, or a mild liquid dishwashing detergent and warm water. Rinse the surface thoroughly after washing with the soap solution and dry with a soft cloth. To avoid leaving a film or causing streaks, avoid using too much cleaner or soap. When cleaning marble or limestone, do not use products that contain lemon, vinegar, or other acids. Do not use any abrasive cleaners.
White Glossy 4” x 12” Porcelain Tile will accent your space walls with a brilliant luster and smooth edges. As an advanced version of the classic subway format, this white tile is now available in the larger 4” x 12” size which makes the space appear more sleek and larger while preserving its traditional appeal. Alongside sharpened illumination, the gloss finish also enhances light diffractor making this tile suitable for both confined and expansive areas.
This backsplash tile porcelain trim is exceptionally durable, making it prudent for use around showers, bathrooms, and even fireplaces. This tile will modernize your residential or commercial property vertically whether placed in stacked, brick, or herringbone patterns with its elegance and effortless maintenance whilst also offering water resistance.
- Size: 4” x 12”
- Finish: Glossy
-
Material: Porcelain
-
Ideal For: Backsplashes, shower walls, bathroom wainscoting, fireplace surrounds, accent walls
MATERIAL INSPECTION
Our stones are natural products. For this reason, there will be naturally occurring variations in the color, pattern, texture, and veining that may differ from what was pictured. Before you begin installation, please inspect the goods for any damage or defects such as chipped edges, broken pieces. We cannot make any adjustments or provide service after the installation has begun.
INSTALLATION
We recommend that you dry-fit your pattern first. Think about the cuts in advance and visualize the installation. Make sure that you practice laying out the pattern. This will also help you plan out the placement of the pieces, which is especially helpful with tiles that have a lot of variation.
To avoid affecting the color of the tile, we highly recommend using white thinset mortar. For faster installation, use a rapid curing thinset mortar.
- Apply as much adhesive as can be covered within 10-15 minutes.
- Grout joint should be a minimum of 1/16” and not butt set.
- Use a 3/16" or 1/4" square notch trowel when installing our marble material
- Prior to fixing the tiles in the mortar bed, use the flat side of the trowel prior to smooth down the ridges.
GROUTING
- For all-natural stone, we suggest using non-sanded grout in order to prevent scratching.
- Before grouting, test an area to make sure the stone surface will not scratch.
- Grout joints should be packed full. Do not leave pits or voids.
- Clean excess grout as you work. Do not let it harden completely.
- Never use acids to clean grout haze.
- Use a damp sponge for the final cleaning and to smooth out the grout joints.
- We highly recommend applying grout release prior to grouting the tile to facilitate cleaning and for protection against staining from contrasting color grouts.
SEAL
After the stone is installed and grouted, seal the stone with an appropriate high-quality breathable stone sealer. This will minimize the potential for water absorption, efflorescence, and staining. If needed, a color enhancer may be applied to bring out the true color of the stone at any time after grouting. You may choose to reseal the tile when the stone gets darker or as needed.
CUTTING
For the best results, use a wet-saw with a new, continuous rim diamond blade designed to cut marble. Do not use “turbo” or other notched blades designed for use with porcelain or ceramic: such teeth can result in a coarse cut, leading to a heavily chipped edge.
CARE AND MAINTENANCE
For normal care and maintenance of stone tiles, clean stone surfaces with a few drops of neutral cleaner, stone soap, or a mild liquid dishwashing detergent and warm water. Rinse the surface thoroughly after washing with the soap solution and dry with a soft cloth. To avoid leaving a film or causing streaks, avoid using too much cleaner or soap. When cleaning marble or limestone, do not use products that contain lemon, vinegar, or other acids. Do not use any abrasive cleaners.
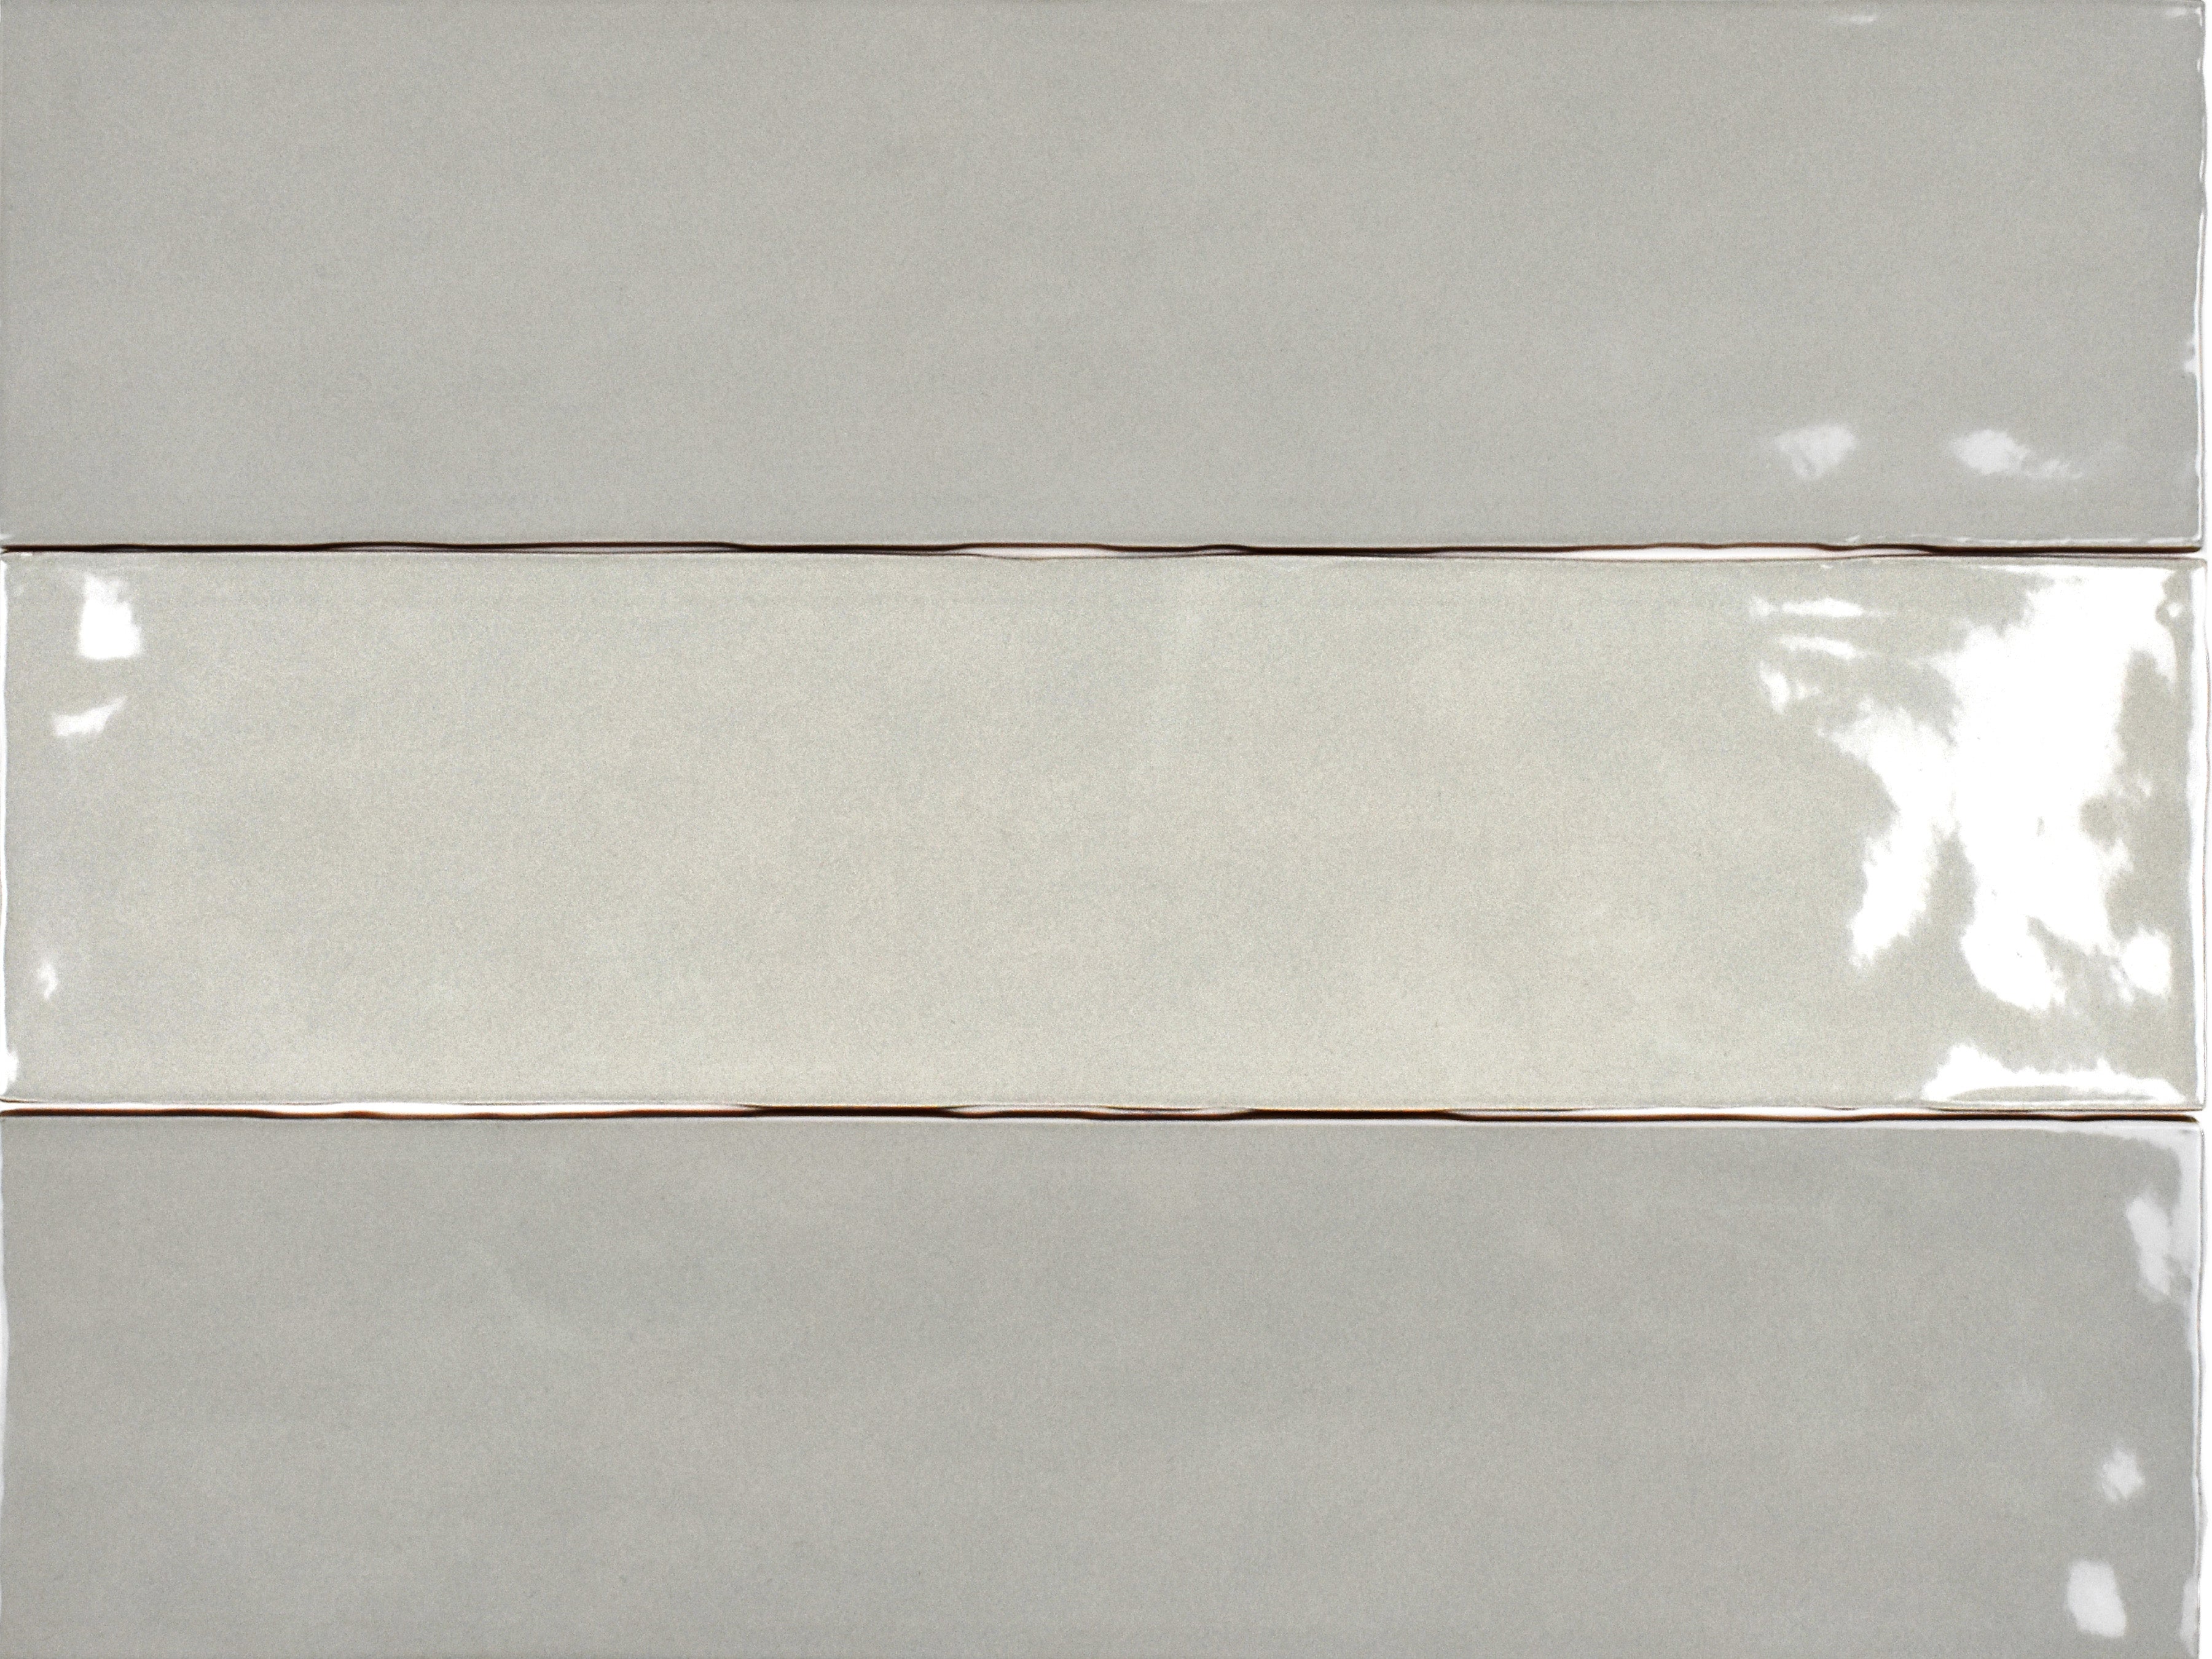
Elongated Style, Glossy Finish and Subway Tile, Refined


Free Design Consultation
Transform your space with expert guidance! Our Free Design Consultation service helps you choose the perfect tiles for your home or project. Whether you're remodeling your kitchen, bathroom, or an entire space, our tile specialists will provide personalized recommendations based on your style, budget, and needs.
- Design to delivery
- Curated samples
- One-on-one with designer
- Dedicated follow-ups
- Schedule your interview
(FAQs) Frequently Asked Questions
Can this tile be used in showers?
Yes, the non-porous volume of porcelain and its glossy finish makes it suitable for shower walls and region showers and other wet areas.
Is it floor-rated?
No, this tile is only engineered for wall installations.


