


Natural stone tiles are porous which means they can be susceptible to absorbing liquids, leading to potentially stains or discoloration. Sealing these tiles is necessary to prevent their surface from getting stained through repeated exposure to water and other liquids.
With lots to think about, we've put together this step-by-step guide to help you maintain the stone's integrity.
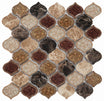
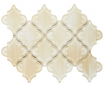
Whether you choose marble, travertine, limestone, or slate, let's explore how to seal natural stone tiles to preserve their appearance.
In 2025, tile trends highlight sustainability, large-format designs, and bold patterns, making proper sealing essential to protect your investment and maintain the aesthetic integrity of natural stone surfaces.
What You Need to Check Before Sealing Stone Tiles

Before sealing, you have to check several things about your installed tiles to warrant the best results. Here's is simple checklist:
Ensure Tiles are Clean of Dirt
Once you clean your tiles of dust, dirt, or any existing residue (accumulated during the installation process), avoid applying sealant. You need a pH-neutral cleaner and a soft brush or sponge to clean the floor.
Confirm Tiles are Dry
Make sure to dry the floor with mops or microfiber cloths. We recommend not using them more than once for this task.
Check for Moisture
Do you know if you don't dry tiles properly, the moisture from the adhesive or cutting process can be trapped within them? It affects the sealer.
So, you have two options: allow sufficient drying time or use a moisture meter to confirm it.
Please Note: The drying time doesn't indicate that your floor is free of all moisture. It may take days and in some cases weeks. You can contact the professional installer to guide you about this.
Make Sure Stains are Removed
If you find stubborn stains, we suggest using a specialized stain remover suitable for your stone type. Check the manufacturer's instructions to treat and remove stains effectively.
Test the Sealant
Be confident that your tiles are clean, dry, and free of moisture by ensuring it. Before applying sealer onto the entire floor, you can test a sealant in an inconspicuous area.
This test helps you to assess whether the sealant is compatible with your specific type of stone (Asian Statuary, Durango, etc).
How To Seal Natural Stone Tile Floor

The most critical step in maintaining the beauty and integrity of natural stone is sealing. Here's a step-by-step process explaining how to apply sealer on natural stone tiles:
Plan How You Are Going To Seal Tiles

The foremost thing you have to do is plan. Reading the company instructions before the application of a sealant is important. It helps you to be fully up to speed with their recommendations for application.
Gather Equipment
There are some tools you’re likely to need throughout the sealing process:
- Sponges or brush
- Premium stone sealer
- Roller
- Dust sheet
- Paint tray
- Pump sprayer
- Lambswool applicator
- Dry cotton
- Paper or microfiber towels
Choose the Right Sealer
Select the sealer that is compatible with the type of tiles and the installation area. We suggest penetrating sealers absorb into the stone — long-lasting protection without altering the appearance.
The surface sealers form a protective layer on top, often enhancing its color (beige, blue) and shine but wear off.
Apply the First Coat of Sealant
Now apply the first coat of your sealant with a sponge and move the product around the area for 15 minutes. To avoid application marks, you should work in small sections. Then tilt the sponge at a 45-degree angle to protect the tile edges - avoiding flooding the grout joints.
Buff Away Excess Sealant
If you find any excess sealer on the tile surface, buff away it gently. Wiping off the excess sealer with a clean cloth or sponge before it dries is important to nip streaks or blotches in the bud. In this way, you can ensure an identical finish.
Leave Sealant to Dry
Once you finish the sealing, let your tiles dry up. For this, leave them for up to 24 hours before use. You can grout the tiles after drying the sealant.
Apply a Second Coat
Check whether the first coat is dried. Apply the second coat by following the above steps. Sealing the grout protects the tiles and grout from water and potential stains.
How Long to Leave Tiles Before Grouting?

According to the general rule, you should wait at least 24 hours before applying the grout. But it's much better to wait for 48 hours to get the desired results.
This period allows your sealer to fully cure and bond with the tiles. Ultimately avoiding issues, it ensures protection when grouting.
How Often Should You Reseal Natural Stone Tiles?
It depends upon the amount of traffic and area. Some people prefer to reseal their natural stone tiles every 18 months, especially for spaces like bathrooms, pools, and showers.
On the other, some choose to reseal tiles every 4-5 years for areas such as kitchens, bedrooms, hallways, and living areas.
Pro Tip: Perform a simple sealing test by dribbling a few drops of water on the tile and grout. Then check if the water beads up and isn't absorbed, it means your tile is sealed. However, the liquid sinking into the tile or grout and darkening the area indicates resealing.
Tips to Maintain Tiles After Sealing

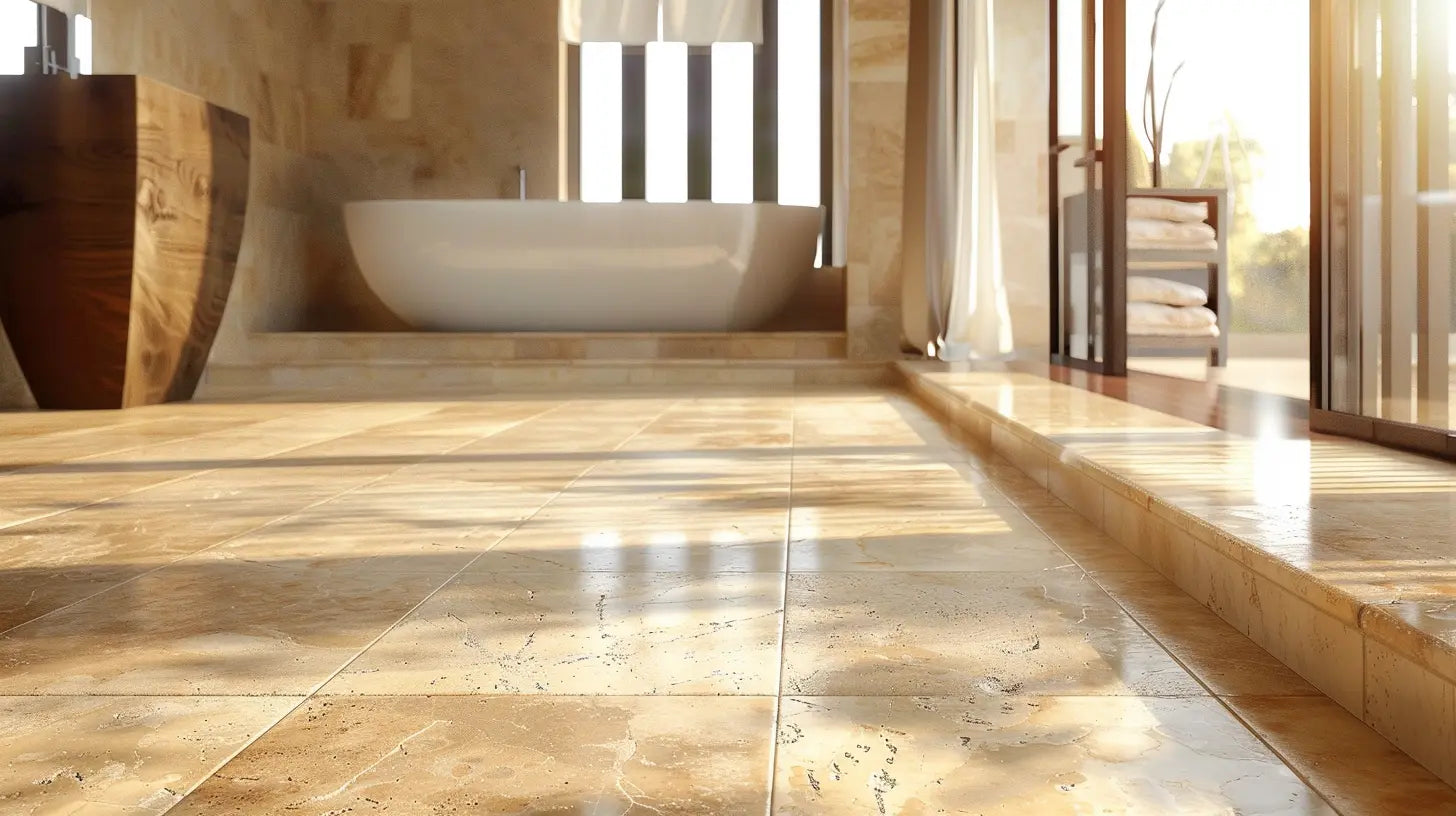
In 2025, natural stone tiles remain a popular choice for bathrooms, valued for their durability, sustainability, and timeless appeal in line with current design trends.
Keeping your natural stone tiles in the finest condition involves routine maintenance. Follow some tips:
- Clean up spills immediately to prevent staining
- Use mats or rugs in the entryway to reduce dirt
- Stick to pH-neutral cleaners
-
Reapply the sealer every 18 months for high-traffic areas and every 4-5 years for low-traffic areas to ensure continuous protection.
In a nutshell, some people want to have their stone tile look new for as long as possible. Do you fall into their category? We recommend protecting marble from substances that could sink into its porous surface.
Sealing isn't a one-time event, so this detailed guide helps you about how to seal and when to reseal natural stones.
However, this process is best handled by an experienced professional. We at MosaiCenter help you preserve your tile's beauty.
If you want to know how to clean natural stone tiles before sealing for a better sealing experience, we have brought an easy guide for you.
FAQ's
Does Natural Stone Tile Need to be Sealed?
Yes, sealing is very important if you want to keep your stone tiles in excellent condition. It preserves their beauty whether your tiles enhance indoor spaces or brave the outside.
What do you Seal Nature Stones with?
Typically, you need a water-based sealant containing polymers, such as acrylic. But make sure to get a product that's intended for use on specific stone types.
What Happens If You Don't Seal a Natural Stone Before Grouting?
No matter, if stones are polished, honed, or tumbled, they're porous and require sealing before grouting. Not considering it results in penetration of water and grim in unsealed grout causing tiles to break or crack.
How Do You Seal Natural Stone?
The process of sealing stone involves:
- Planning
- Gathering tools
- Choosing and applying sealant
- Drying
- Grouting

Halil I Oguz
At Mosaicenter's, Halil I Oguz brings a unique blend of strategic insight and creative flair to our digital experience. As our dedicated Founder & Tile Expert, he masterfully curates the online journey, allowing the inherent quality and design artistry of our premium tiles to truly shine.
From showcasing the intricate patterns of our mosaics to detailing the robust, scratch-resistant and water-resistant finishes of our porcelain and natural stone, Halil crafts content that is both informative and deeply engaging.
His work empowers Mosaicenter's clients to confidently select from our extensive range, helping them transform spaces with tiles that reflect both enduring style and practical excellence.


Leave a comment
This site is protected by hCaptcha and the hCaptcha Privacy Policy and Terms of Service apply.