

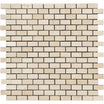
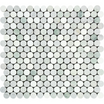


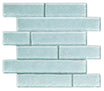
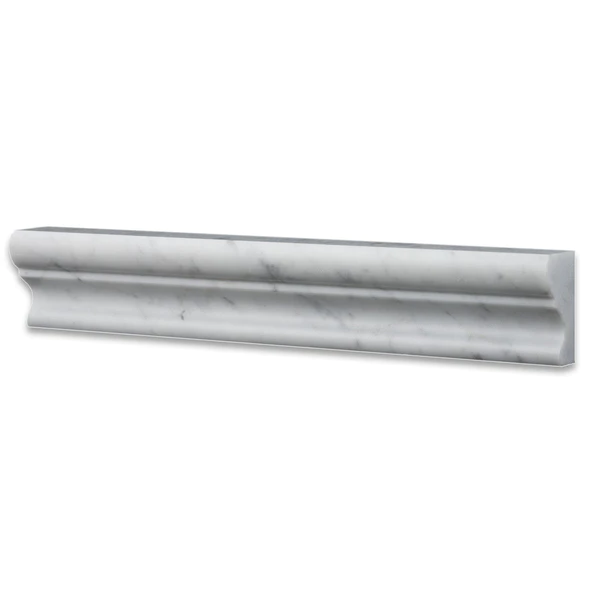
Asian Statuary Marble Crown Molding
$12.0
/piece
Asian Statuary Marble Crown Molding
Sale price$12.00
Overview
Asian Statuary Marble Crown Molding is a white marble trim piece sold individually by the piece. It carries the depth and cool touch only quarried marble has, with natural variation that makes each layout one of a kind. It finishes edges, transitions, and baseboards so the field tile ends with a clean line.
Explore White Marble TilesDesign & Color Guide
White fields read larger than they measure, reflecting light deep into a room. It takes both warm schemes, with oak and linen, and cool ones, with chrome and charcoal, without fighting either.
Explore White TilesAbout Marble
Marble is metamorphosed limestone, formed when heat and pressure recrystallize calcite into the veined, light-reflective stone quarried for centuries of architecture. Every tile is cut from natural blocks, so veining and tone vary from piece to piece, which is the material's signature rather than a defect. Marble stays cooler than the surrounding air, takes a high polish, and brings a depth of color that printed surfaces approximate but do not match.
Explore Marble TileInstallation & Care
Marble is a calcite stone and needs sealing at installation and roughly once a year after, depending on traffic. Wipe spills quickly, especially wine, citrus, and vinegar, which etch the surface on contact. Clean only with stone-safe pH-neutral cleaners; never use vinegar, bleach, or abrasive powders. Use walk-off mats at entries and felt pads under furniture. Install with white thinset to avoid bleed-through, and dry-lay tiles first to blend natural variation across the floor or wall.
Specifications
Key Specs
- Material
- Marble
- Size
- 2x12
- Application
- Kitchen, Shower, Bathroom, Wall
- Color
- White, Gold, Gray


Frequently Asked Questions
Does Asian Statuary Marble Crown Molding need to be sealed?
Yes. Like all natural and cement-based surfaces it should be sealed at installation and re-sealed periodically, roughly once a year in wet or high-traffic areas. Use pH-neutral cleaners between sealings.
How is Asian Statuary Marble Crown Molding sold?
It is sold individually by the piece, so you can order exactly the count your layout needs. Most installers add one or two spare pieces for cuts and future repairs.
Can Asian Statuary Marble Crown Molding be used in a bathroom?
Yes, with sealing. Natural stone performs well in bathrooms when sealed at installation and re-sealed periodically; keep acidic cleaners away from the surface.
FAQ
Use this text to share information about your product or shipping policies.
When it comes to tiles, what is crown molding used for?
Protective covering for horizontal surfaces, in this case, crown molding is a cap for tiled vertical walls meeting ceilings or surfaces offering a finished solution to edges of walls where two surfaces intersect.
Our customer support is available Monday to Friday: 8am-8:30pm.Average answer time: 24h