


Bardiglio Imperiale Marble Vein-Cut Bullnose Polished Liner
Subheading
Heading
Description
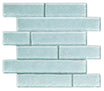
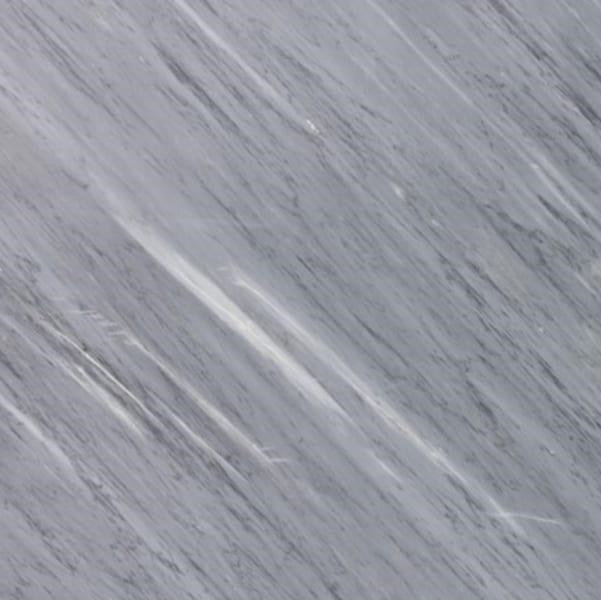
With the Bardiglio Imperiale Marble Vein-Cut Bullnose Polished Liner, you can glide along finishing any interior with elegance after installing any marble tile. This liner provides both modern and transitional spaces with a stylish accent due to its horizontal gray and white striations that create a sleek and continuous flow.
This liner is ideal for tile edges, borders, bathtub frames, and niches because it's high-polish finish and bullnose edges provide a rounded finished look. The stone’s natural bevel and added light allowed the polished surface to give the liner depth and light reflection.
- Product Type: Bullnose Liner/Edge Trim
- Finish: Polished
- Material: Natural Bardiglio Imperiale Marble (Vein-Cut)
- Perfect For: Bathroom walls, shower niches, backsplashes, accent trims, and tile edges and countertops
The Bardiglio Tile collection includes the Imperiale Marble Vein-Cut Bullnose Polished Liner, which enhances luxury and delivers a clean, professional finish—ideal for any stone installation.
Specifications
Installation
MATERIAL INSPECTION
- Inspect goods for defects before installation.
INSTALLATION
- Use white thin-set mortar.
- Grout joint minimum: 1/16”.
With the Bardiglio Imperiale Marble Vein-Cut Bullnose Polished Liner, you can glide along finishing any interior with elegance after installing any marble tile. This liner provides both modern and transitional spaces with a stylish accent due to its horizontal gray and white striations that create a sleek and continuous flow.
This liner is ideal for tile edges, borders, bathtub frames, and niches because it's high-polish finish and bullnose edges provide a rounded finished look. The stone’s natural bevel and added light allowed the polished surface to give the liner depth and light reflection.
- Product Type: Bullnose Liner/Edge Trim
- Finish: Polished
- Material: Natural Bardiglio Imperiale Marble (Vein-Cut)
- Perfect For: Bathroom walls, shower niches, backsplashes, accent trims, and tile edges and countertops
The Bardiglio Tile collection includes the Imperiale Marble Vein-Cut Bullnose Polished Liner, which enhances luxury and delivers a clean, professional finish—ideal for any stone installation.
MATERIAL INSPECTION
- Inspect goods for defects before installation.
INSTALLATION
- Use white thin-set mortar.
- Grout joint minimum: 1/16”.
FAQ
Use this text to share information about your product or shipping policies.
What is the use of a bullnose liner?
These liners are used to cap off tile work by providing clean and round edges that enable protection against edge chipping while completing the designs elegantly.