


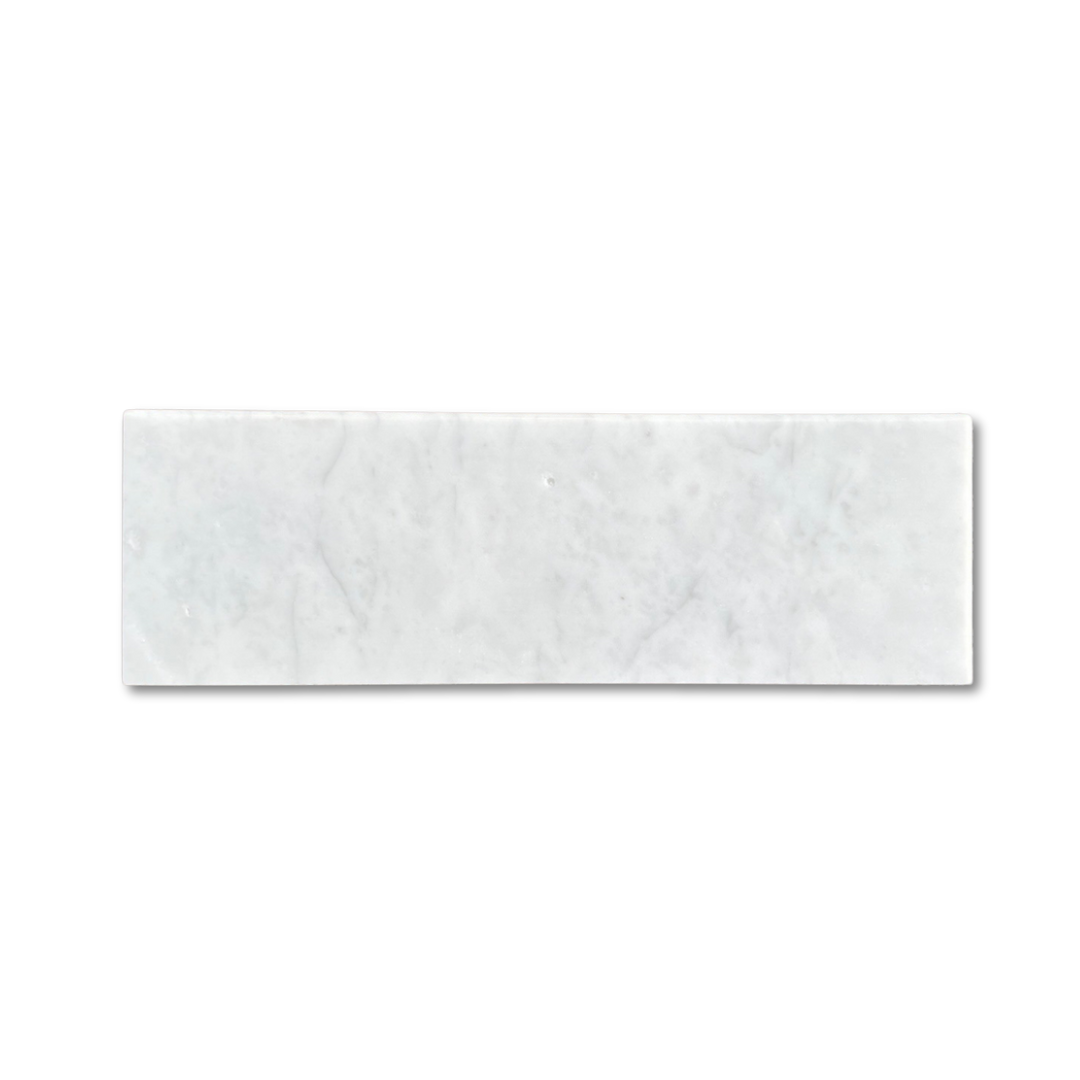

Carrara White Marble 4"x12" Bullnosed Tile
Subheading
Heading
Description
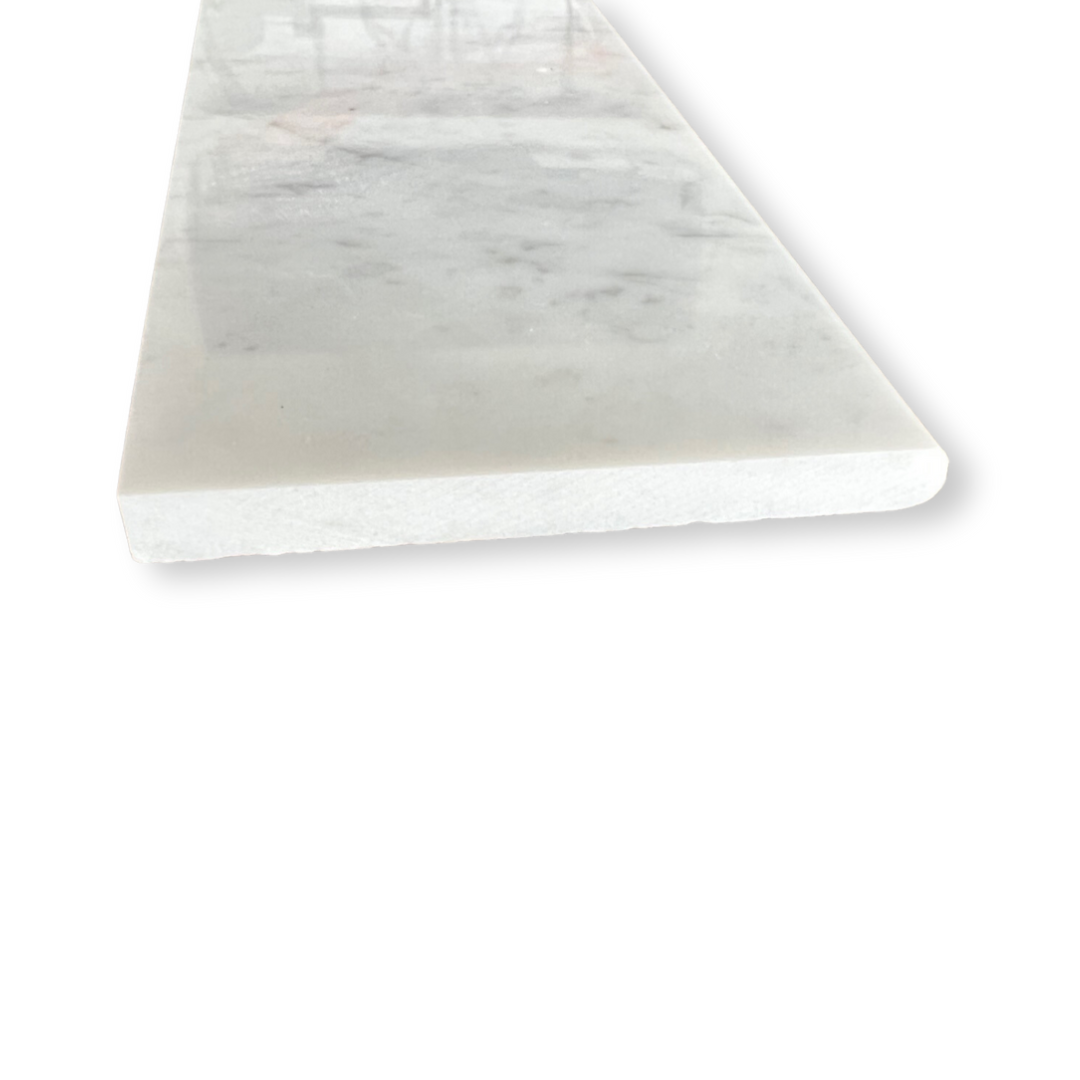
Complete your marble installation with an elegant touch using the Carrara White Marble 4"x12" Bullnose Tile. Endowed with one bullnose edge and made from top quality Carrara White marble, this tile showcases a soft white background along with delicate gray veining which adds timeless sophistication.
It further enhances the Carrara tiles' polished look, adding a sumptuous sheen to showers, backsplashes, and accent walls. Serving as edge trim, border niche outlines, bathtub surrounds, and wainscoting cap pieces, the bullnose ends of these tiles are both practical and aesthetically pleasing. Seamless in design, these tiles provide a soothing view devoid of harsh lines.
-
Tile Size: 4" x 12"
-
Edge: One Long Side Bullnose
-
Finish: Polished
-
Material: Carrara White Marble
-
Ideal For: Shower edges, wainscot borders, niche outlines, wall terminations, and countertop transitions
Smooth, elegant, and essential—this bullnose tile elevates every installation with a designer finish. Using mosaics or large format tiles will not alter the polished look of the Carrara tiles. No matter the choice of tiles, this trim piece will ensure the area has the appearance of a professional finish.
Specifications
Installation
MATERIAL INSPECTION
- Inspect goods for defects before installation.
INSTALLATION
- Use white thin-set mortar.
- Grout joint minimum: 1/16”.
Complete your marble installation with an elegant touch using the Carrara White Marble 4"x12" Bullnose Tile. Endowed with one bullnose edge and made from top quality Carrara White marble, this tile showcases a soft white background along with delicate gray veining which adds timeless sophistication.
It further enhances the Carrara tiles' polished look, adding a sumptuous sheen to showers, backsplashes, and accent walls. Serving as edge trim, border niche outlines, bathtub surrounds, and wainscoting cap pieces, the bullnose ends of these tiles are both practical and aesthetically pleasing. Seamless in design, these tiles provide a soothing view devoid of harsh lines.
-
Tile Size: 4" x 12"
-
Edge: One Long Side Bullnose
-
Finish: Polished
-
Material: Carrara White Marble
-
Ideal For: Shower edges, wainscot borders, niche outlines, wall terminations, and countertop transitions
Smooth, elegant, and essential—this bullnose tile elevates every installation with a designer finish. Using mosaics or large format tiles will not alter the polished look of the Carrara tiles. No matter the choice of tiles, this trim piece will ensure the area has the appearance of a professional finish.
MATERIAL INSPECTION
- Inspect goods for defects before installation.
INSTALLATION
- Use white thin-set mortar.
- Grout joint minimum: 1/16”.
FAQ
Use this text to share information about your product or shipping policies.
What does “bullnose” mean?
Bullnose tiles have a rounded, finished edge—perfect for transitions where tile meets drywall, open edges, or countertop surfaces.