


Carrara White Marble Baseboard 4"x12" Molding
Subheading
Heading
Description
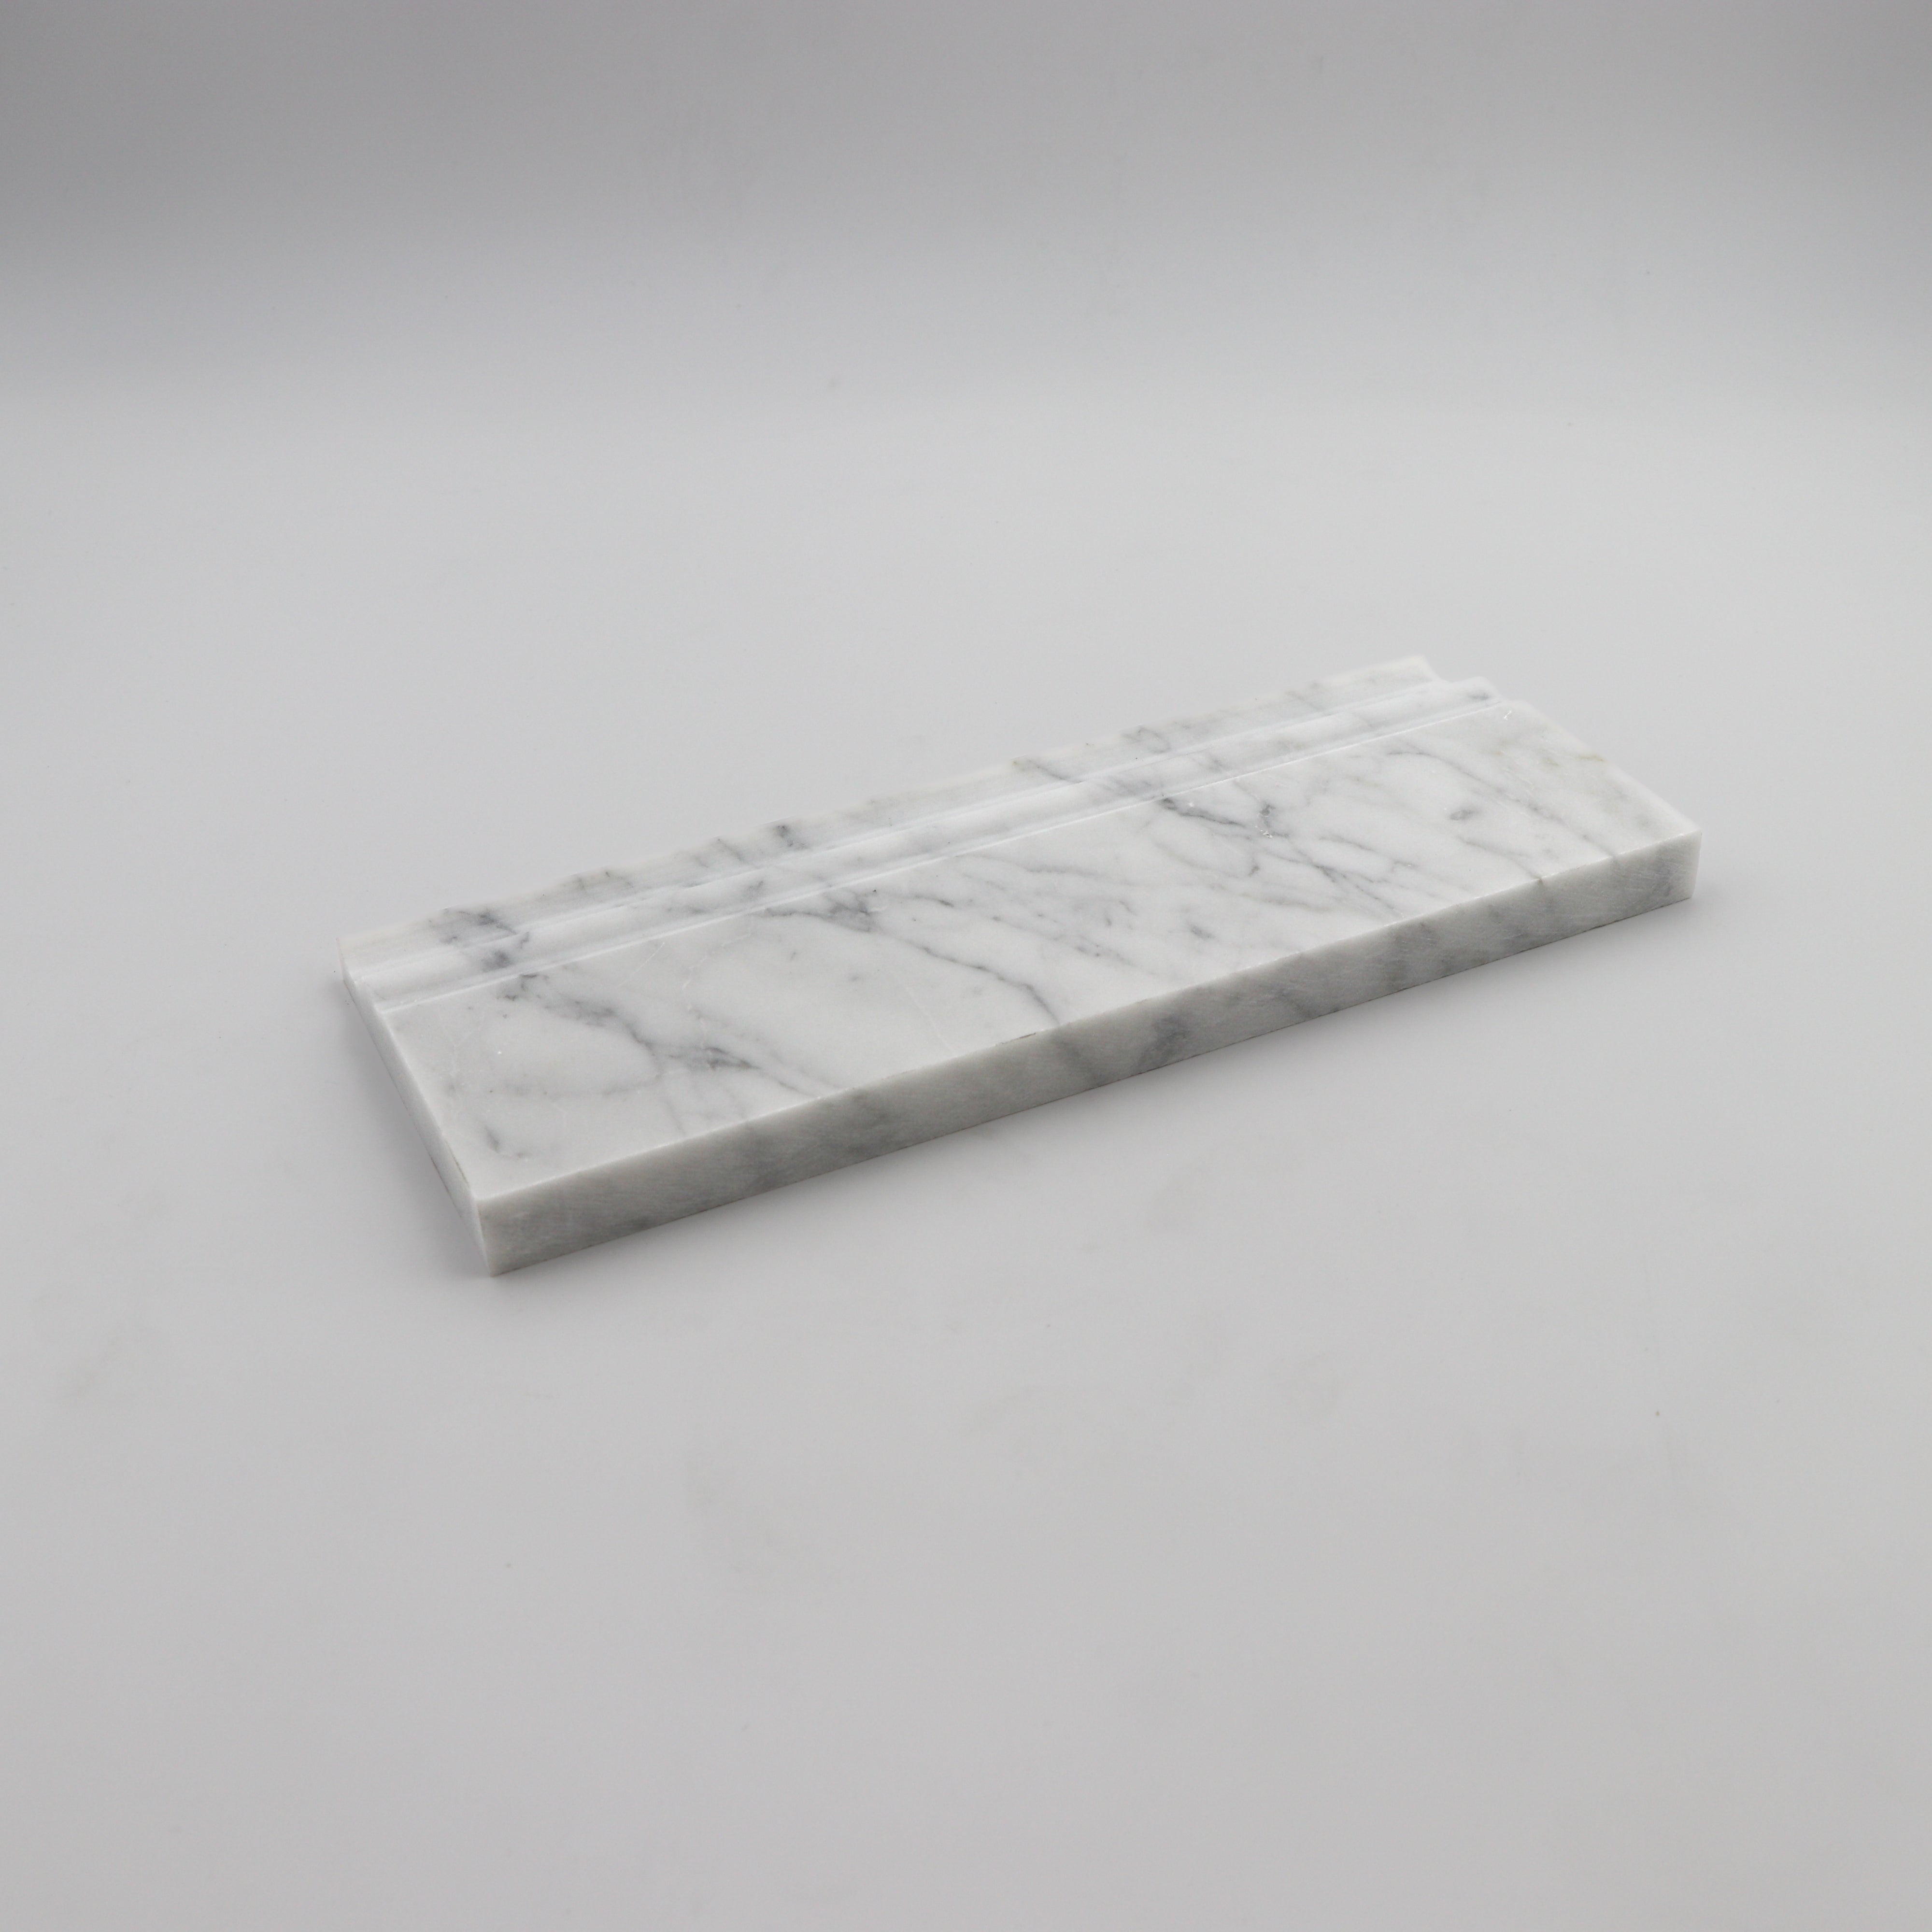
The Carrara White Marble Baseboard 4"x12" Molding completes the marble installation by incorporating a professionally polished detail. Covered with a light white soft base with slightly prominent gray inflections, this premium-grade natural Carrara marble baseboard offers a clean and elegant aesthetic that adds value to many design styles. It comes with a sleek smooth honed or polished finish (depending on variation) that makes walls and flooring look seamless and upscale.
This baseboard is particularly useful for bathrooms, powder rooms, kitchens, and entryways, as well as commercial spaces. It serves elegantly as protective wall trim while enhancing the visual appeal of the surface, thus, providing outstanding form and functionality for your marble-covered spaces.
-
Size: 4" x 12"
-
Finish: Polished or Honed (based on selection)
-
Material: Natural Carrara White Marble
-
Perfect For: Bathroom walls, kitchen edges, flooring transitions, shower perimeters, powder rooms
Refined sophistication is achieved when completing a luxurious marble design with the Carrara White Marble Baseboard 4"x12" Molding.
Specifications
Installation
MATERIAL INSPECTION
- Inspect goods for defects before installation.
INSTALLATION
- Use white thin-set mortar.
- Grout joint minimum: 1/16”.
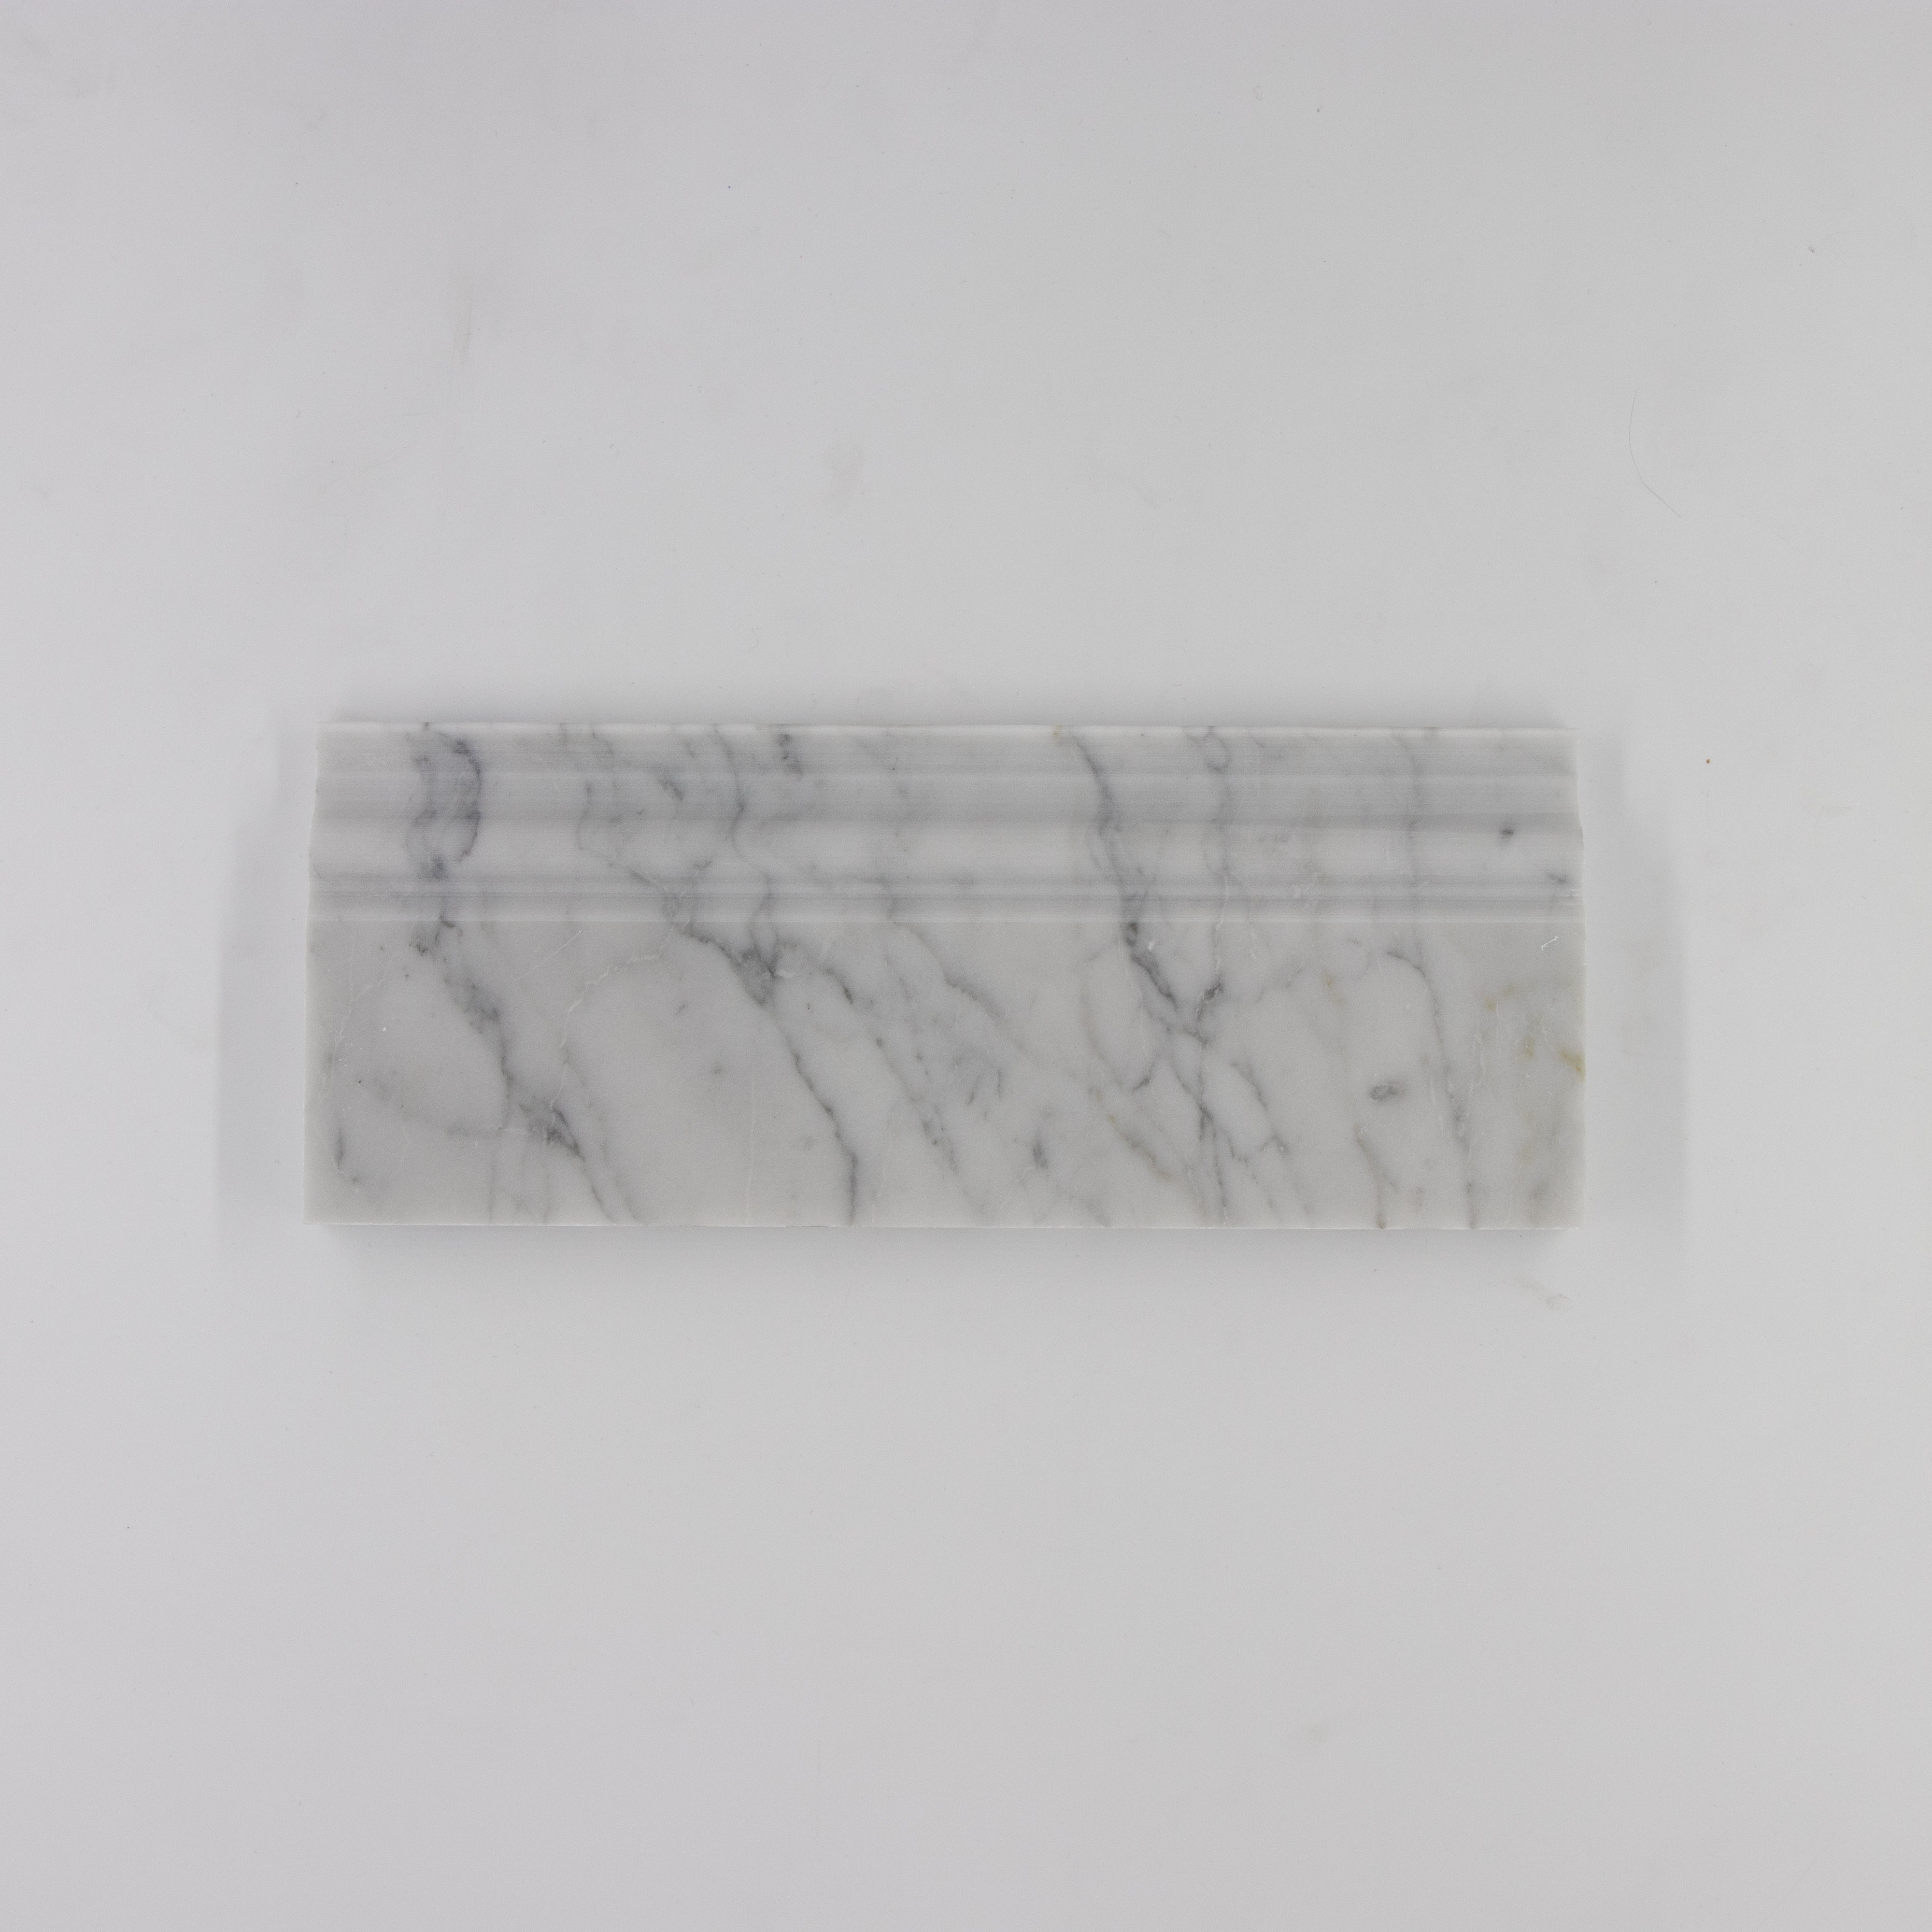
The Carrara White Marble Baseboard 4"x12" Molding completes the marble installation by incorporating a professionally polished detail. Covered with a light white soft base with slightly prominent gray inflections, this premium-grade natural Carrara marble baseboard offers a clean and elegant aesthetic that adds value to many design styles. It comes with a sleek smooth honed or polished finish (depending on variation) that makes walls and flooring look seamless and upscale.
This baseboard is particularly useful for bathrooms, powder rooms, kitchens, and entryways, as well as commercial spaces. It serves elegantly as protective wall trim while enhancing the visual appeal of the surface, thus, providing outstanding form and functionality for your marble-covered spaces.
-
Size: 4" x 12"
-
Finish: Polished or Honed (based on selection)
-
Material: Natural Carrara White Marble
-
Perfect For: Bathroom walls, kitchen edges, flooring transitions, shower perimeters, powder rooms
Refined sophistication is achieved when completing a luxurious marble design with the Carrara White Marble Baseboard 4"x12" Molding.
MATERIAL INSPECTION
- Inspect goods for defects before installation.
INSTALLATION
- Use white thin-set mortar.
- Grout joint minimum: 1/16”.
FAQ
Use this text to share information about your product or shipping policies.
Is this baseboard molding suitable for wet areas like bathrooms?
Yes! Carrara marble is excellent for bathrooms and wet zones, and this molding works beautifully around vanities, shower perimeters, and walls when properly sealed.