

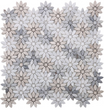
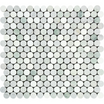


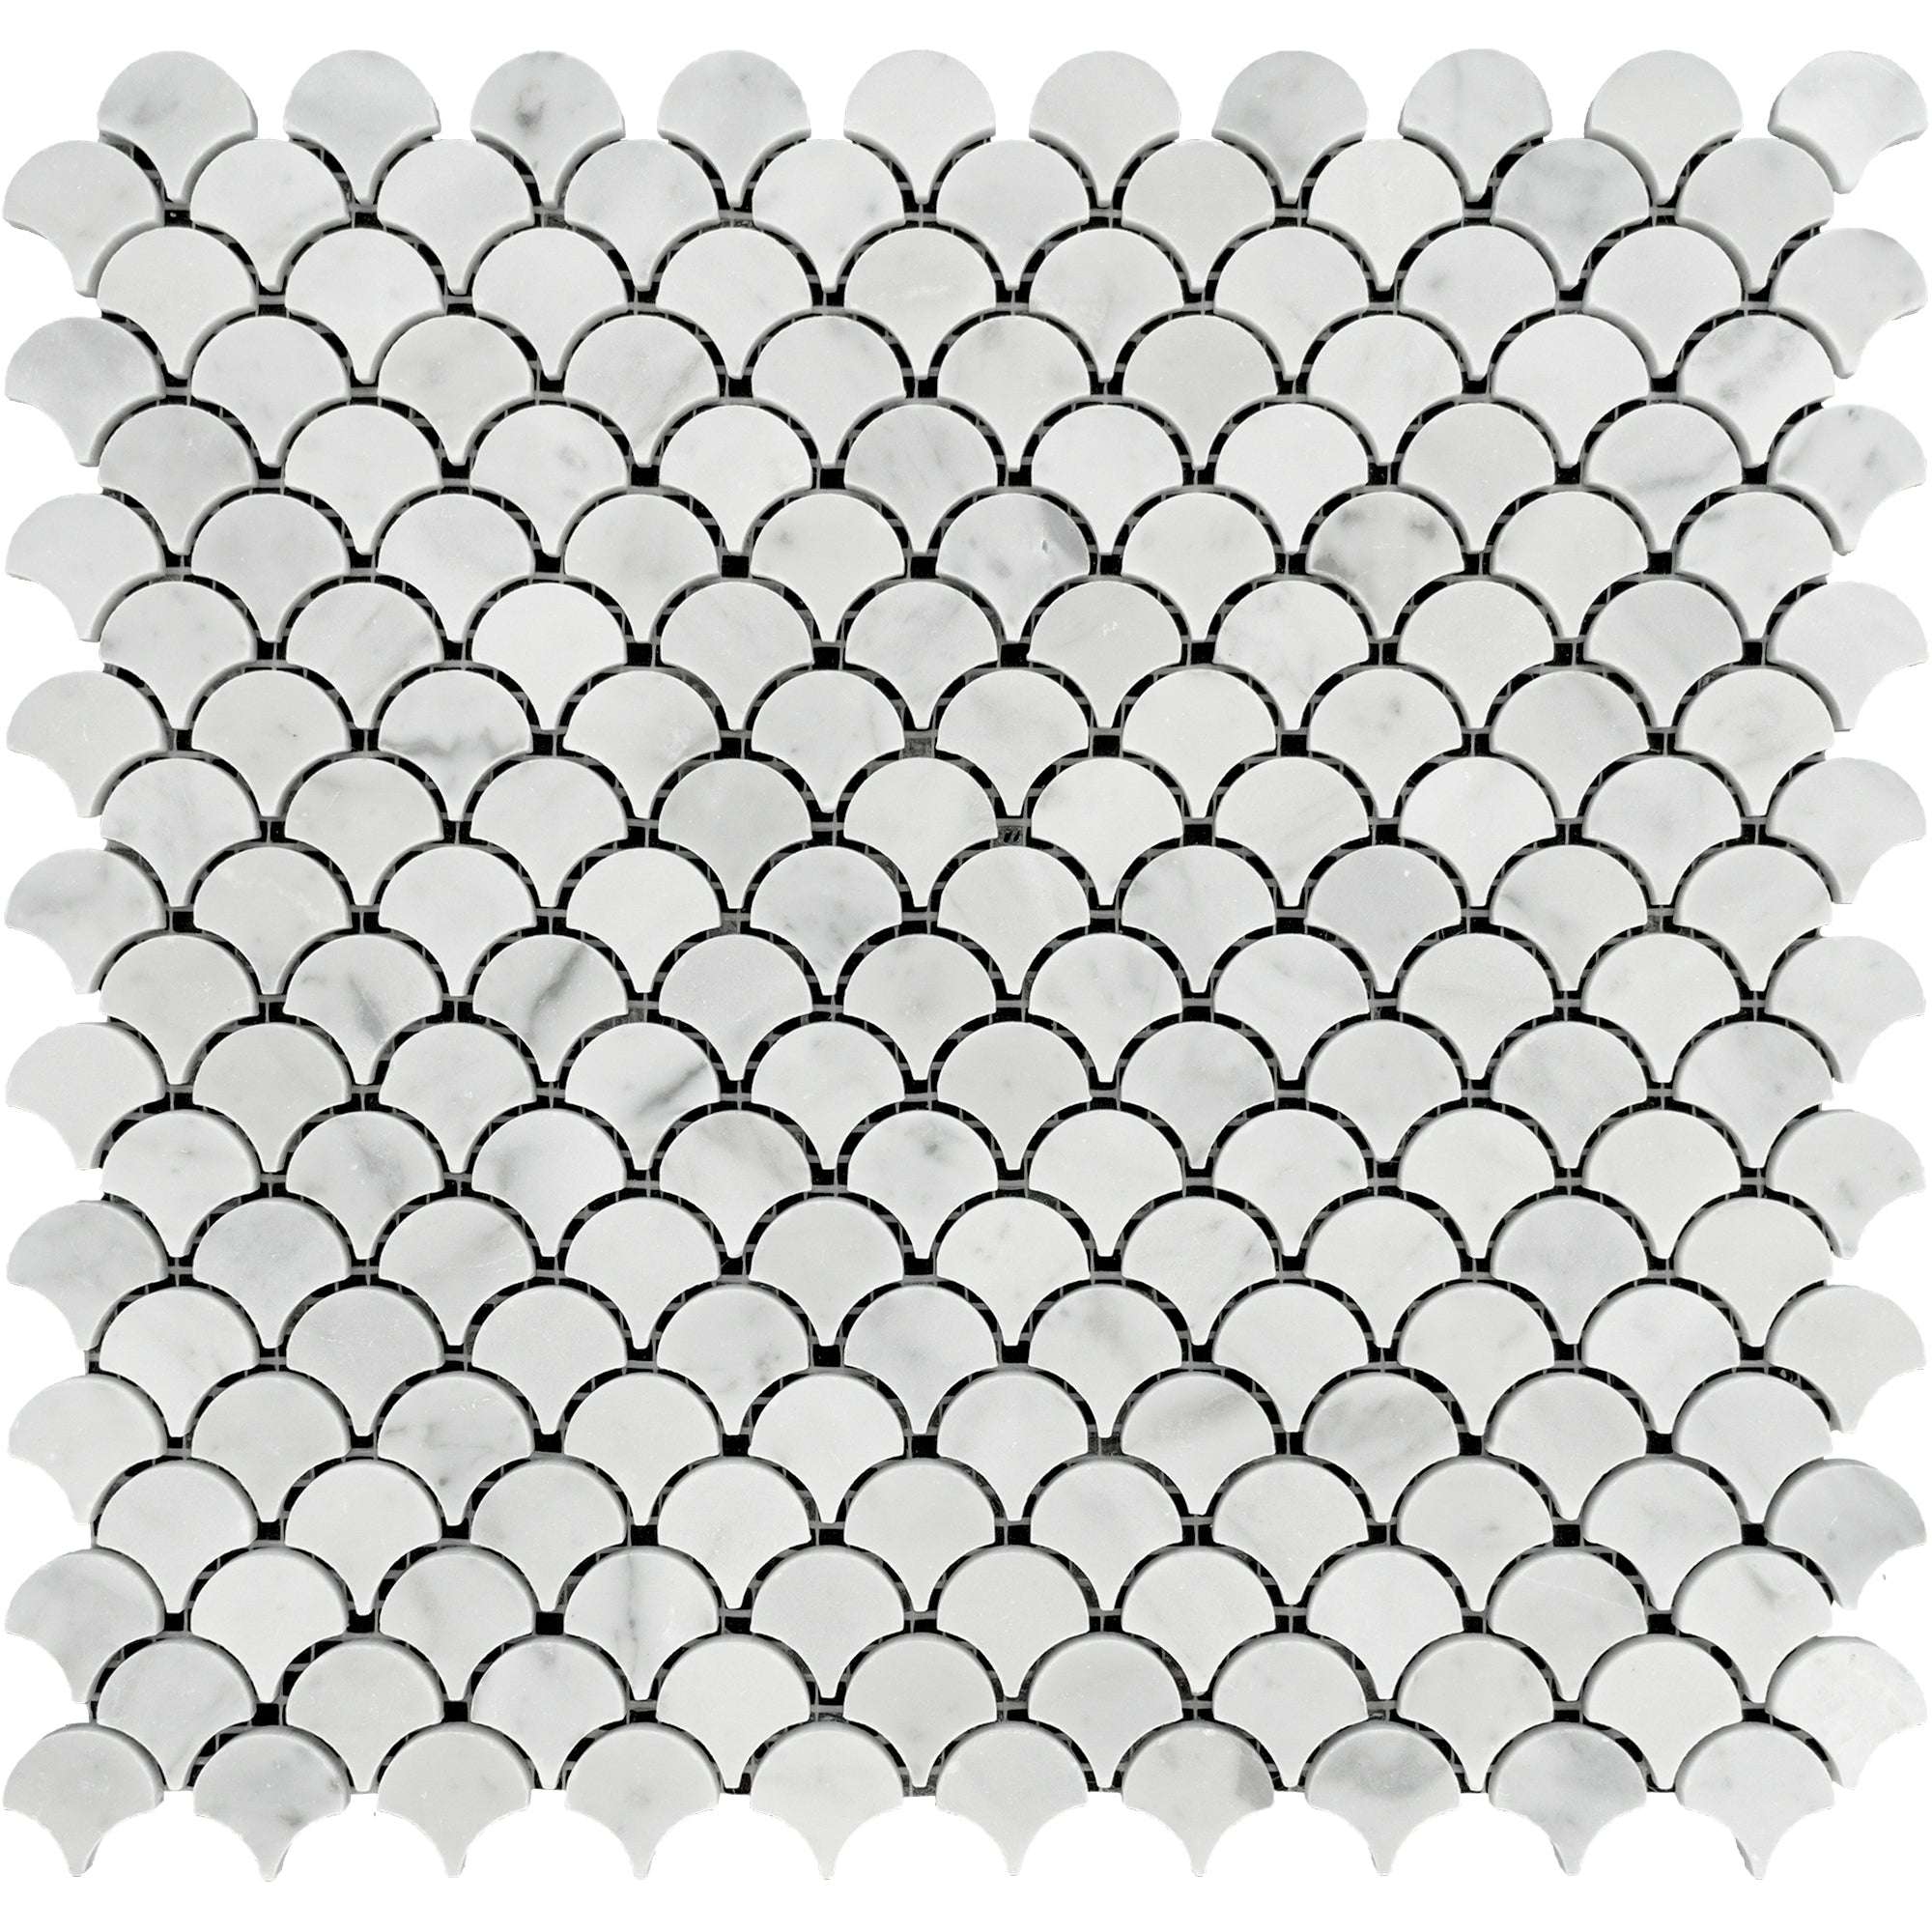
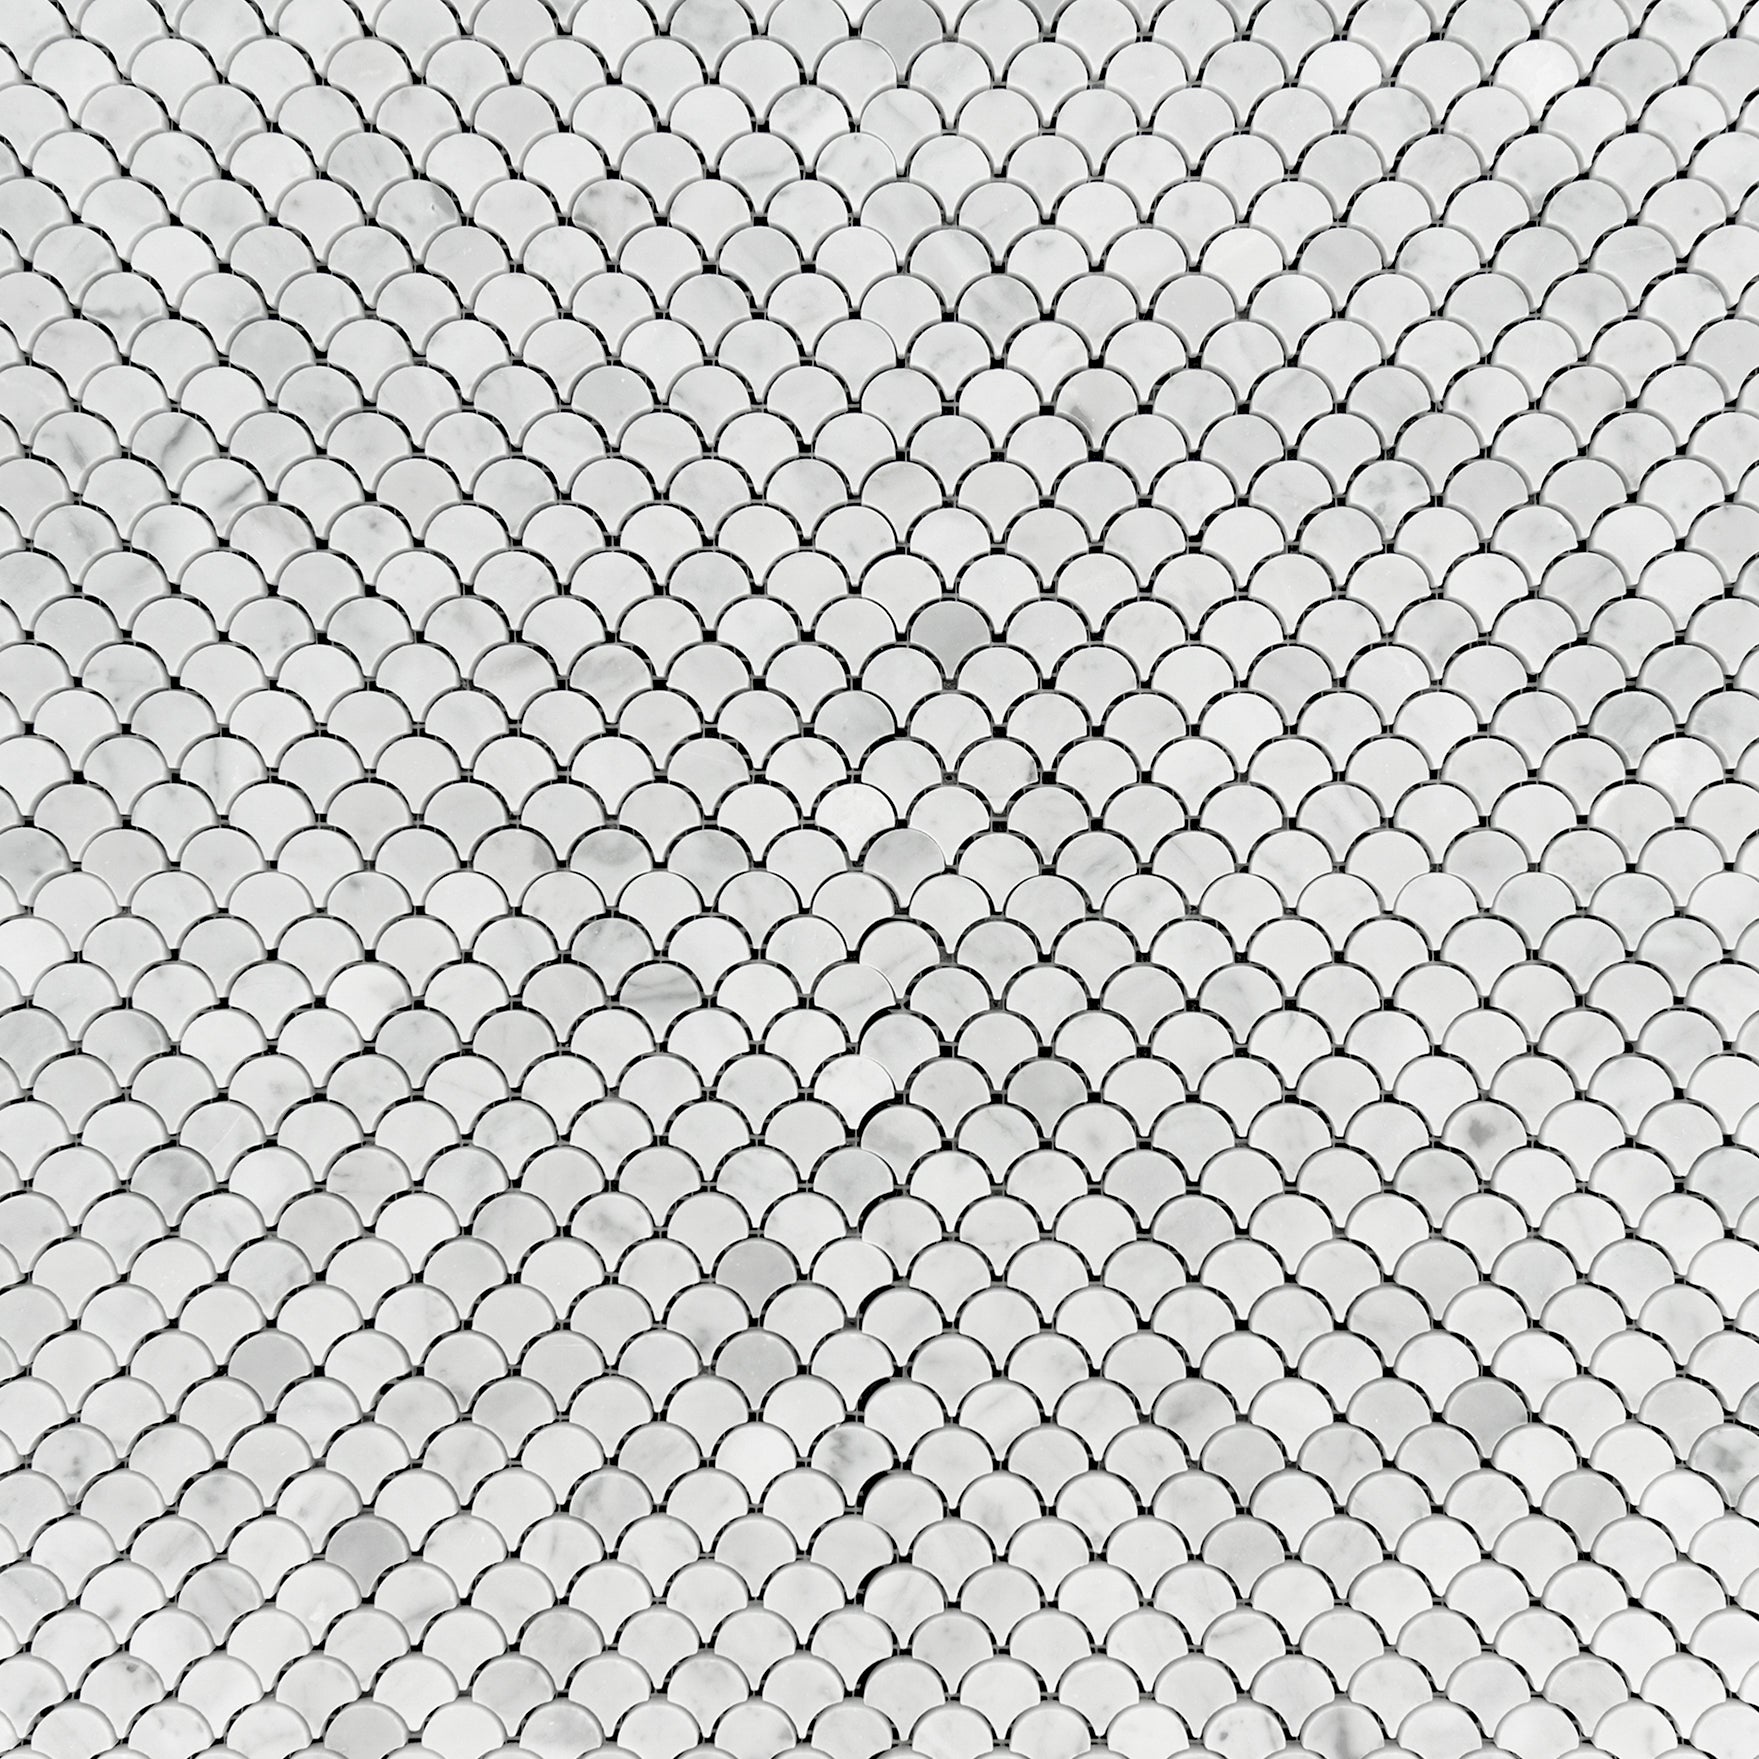
Carrara White Marble Fan Mosaic
$15.0
/sqft
$15.0 /sheet
1 sheet covers 1.0 sqft
1 sheet covers 1.0 sqft
Quantity Calculator
* Min. order:
1 Sheets
Estimated Total
$0
Carrara White Marble Fan Mosaic
Sale price$15.00
Overview
Carrara White Marble Fan is a white marble mosaic tile sold by the sheet with per-square-foot pricing. It carries the depth and cool touch only quarried marble has, with natural variation that makes each layout one of a kind. The mounted sheets bend to shower floors and wrap niches cleanly, making it a natural pick for backsplashes and accent walls.
Explore Mosaic TilesDesign & Color Guide
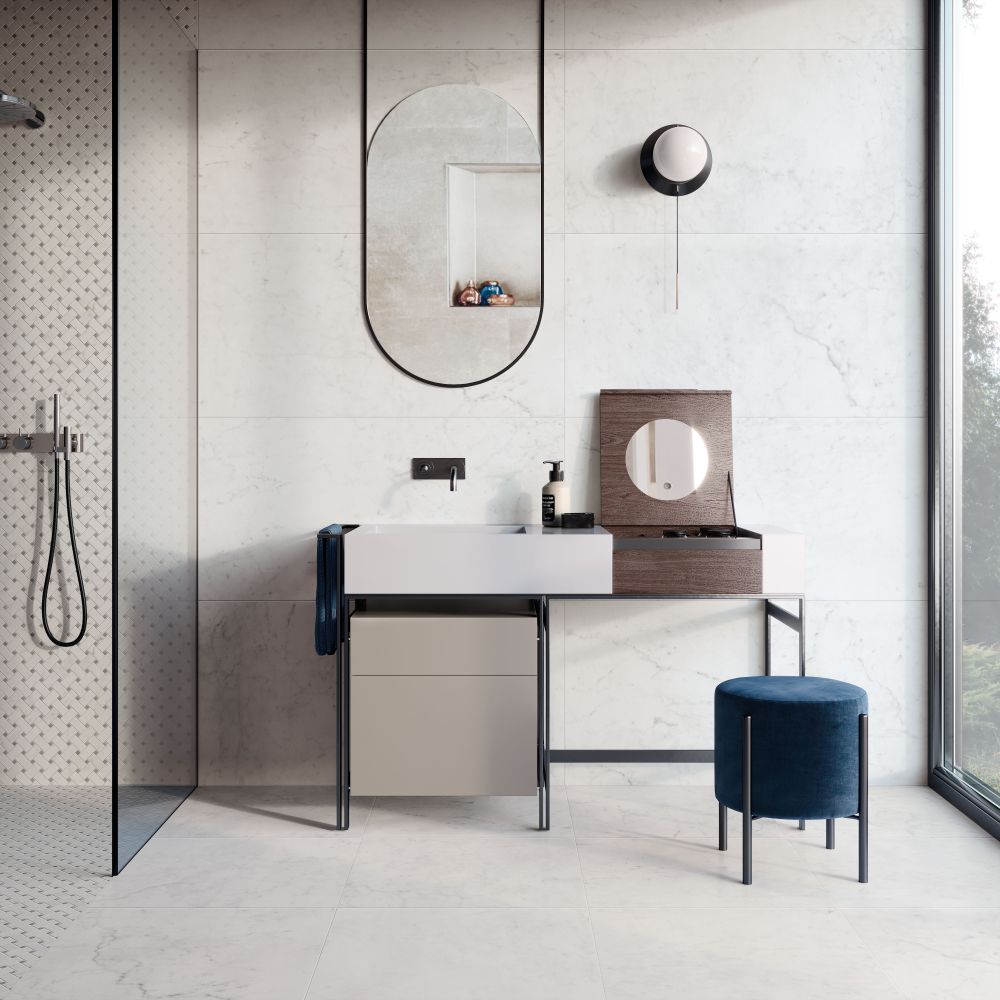
A white surface opens and brightens a room, bouncing light through bathrooms and smaller spaces where a darker floor would close them in. Pair it with warm wood and brushed brass for a soft scheme, or black fixtures for sharper contrast. As a mosaic, the joint pattern is part of the design; grout color choice changes the whole read of the sheet.
Explore White TilesAbout Carrara White
Carrara marble is a metamorphic stone formed when limestone recrystallizes under heat and pressure into interlocking calcite crystals. It is quarried in the Apuan Alps above the town of Carrara in Tuscany, Italy, the same region Renaissance sculptors relied on for centuries. Carrara White carries a bright, faintly cool white ground crossed by soft, feathery gray veins that run finer and more linear than the bold gold veining of Calacatta. A polished finish deepens that contrast and gives the surface a reflective sheen, while a honed finish mutes it to a soft matte with a quieter, more contemporary feel. Because the veining stays gentle and continuous, Carrara reads as a calm backdrop rather than a statement stone, which is why it anchors so many kitchens, bathrooms, and full-height feature walls without overwhelming them.
Explore Marble TileInstallation & Care
Natural marble should be set with a white modified thin-set mortar over a flat, structurally sound substrate, using white mortar so it does not shadow through the pale stone. Seal Carrara marble after installation and reseal it roughly every 12 to 18 months, more often in wet or high-traffic areas, since honed and tumbled surfaces are more porous than polished and absorb sealer faster. Clean it only with a pH-neutral stone cleaner. Avoid vinegar, citrus, and other acidic products, because marble is calcium carbonate and acid etches dull marks into the surface. Blot spills from wine, coffee, or oil promptly rather than letting them sit, and with routine sealing the stone holds its finish for decades.
Specifications
Key Specs
- Material
- Marble
- Application
- Kitchen, Shower, Bathroom, Wall
- Color
- White, Gray


Frequently Asked Questions
Does Carrara White Marble Fan need to be sealed?
Yes. Like all natural and cement-based surfaces it should be sealed at installation and re-sealed periodically, roughly once a year in wet or high-traffic areas. Use pH-neutral cleaners between sealings.
How much does one sheet of Carrara White Marble Fan cover?
One sheet covers 1 square feet. Enter your area in the calculator above and it converts square footage into full sheets, including any overage you add for cuts.
Can Carrara White Marble Fan be used on a shower floor?
Yes. The small pieces on a mounted sheet follow the slope to the drain, and the extra grout lines add grip, which is why mosaics are the standard choice for shower floors.
Free Design Consultation
Transform your space with expert guidance! We helps you choose the perfect tiles to match your style, needs, and budget. Whether you're renovating a kitchen, upgrading your bathroom, or designing a commercial space, our experienced design consultants provide personalized recommendations, color coordination, and layout ideas to bring your vision to life.
- From concept to completion
- Handpicked samples
- Personalized consultation with a designer
- Ongoing support and follow-ups