

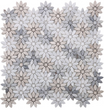
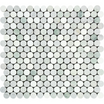


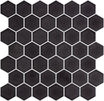
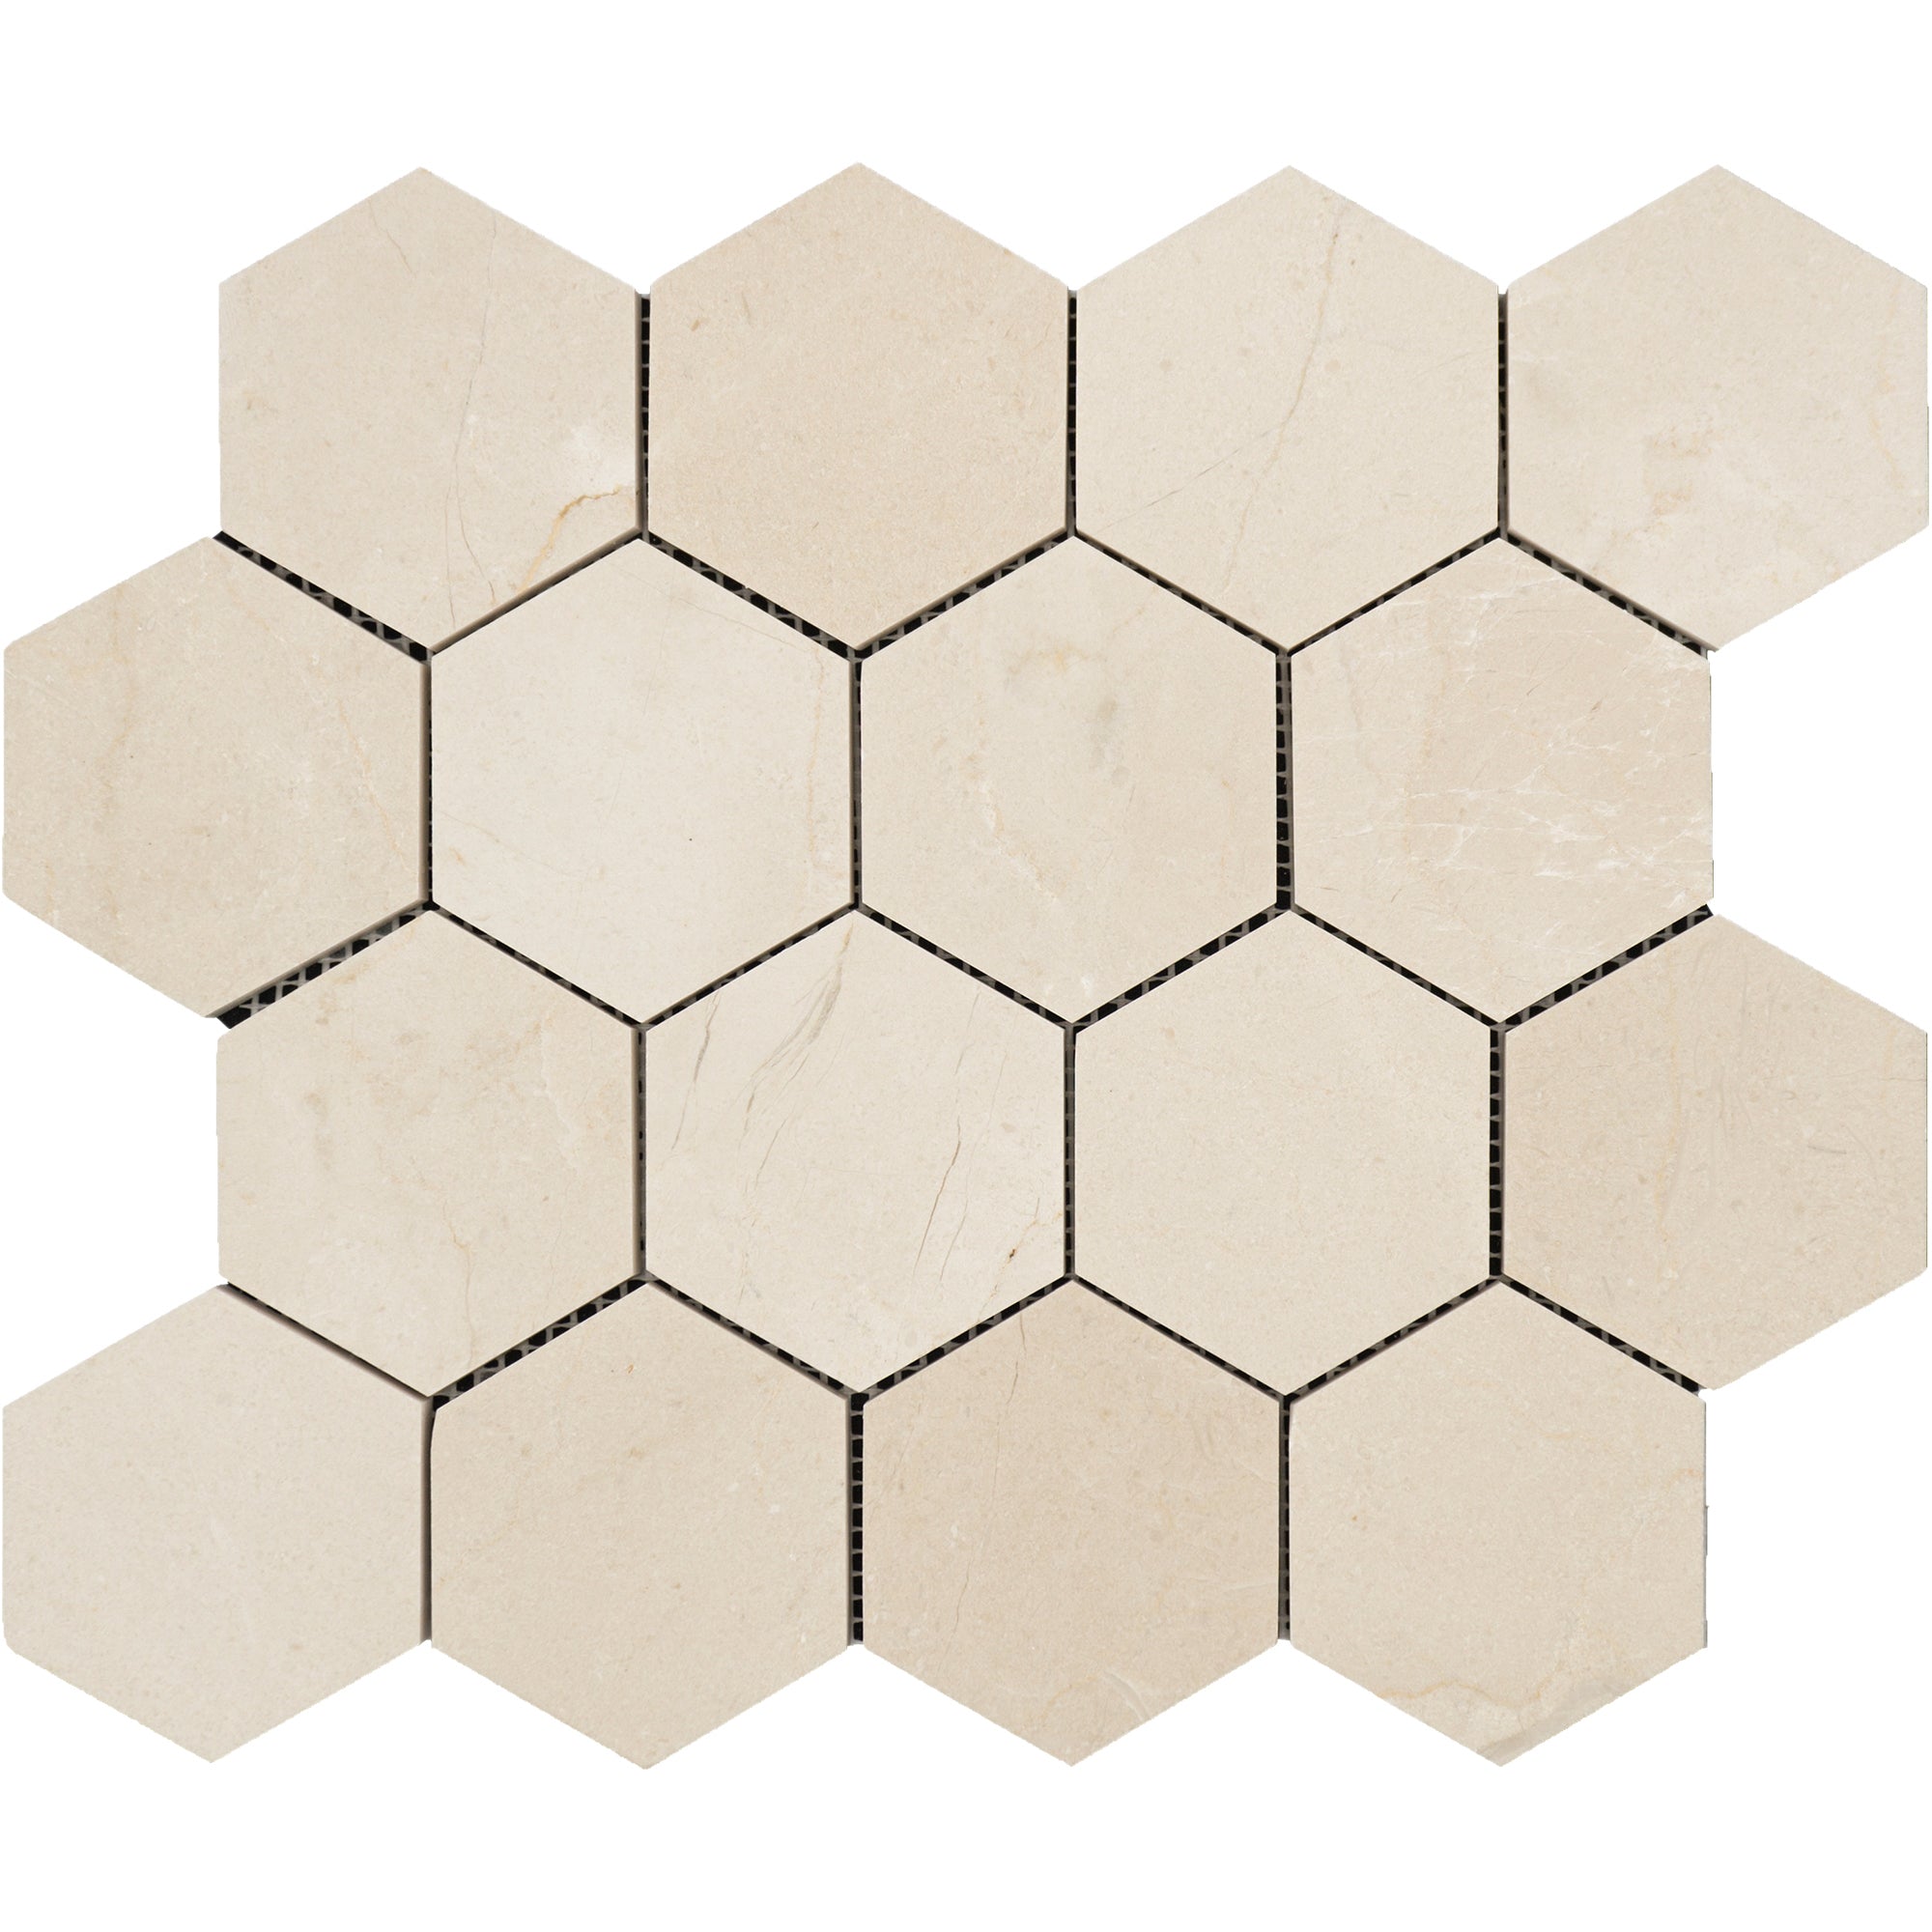
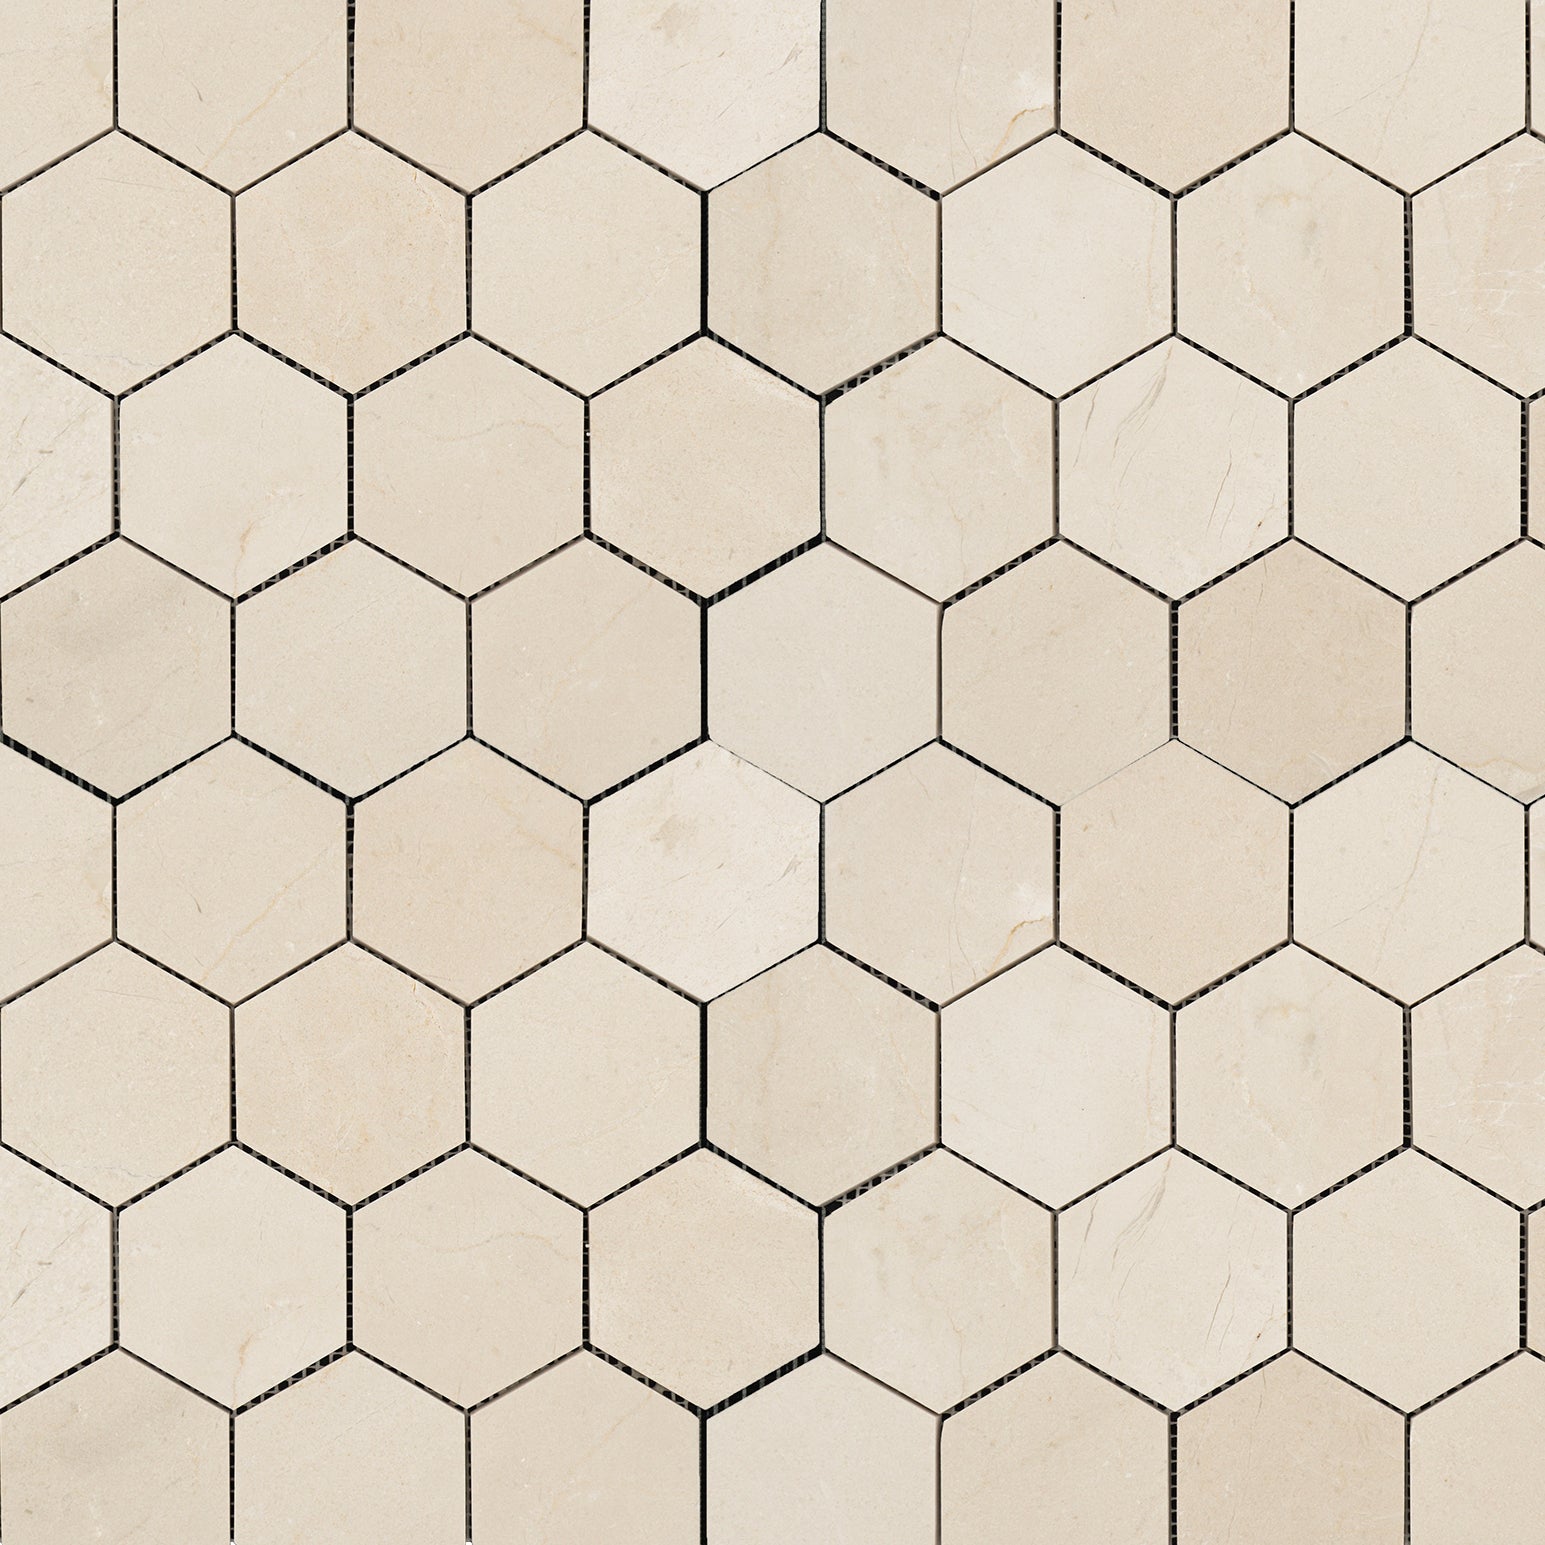
Crema Marfil Marble Hexagon 3" Mosaic
$18.29
/sqft
$14.63 /sheet
1 sheet covers 0.8 sqft
1 sheet covers 0.8 sqft
Quantity Calculator
* Min. order:
1 Sheets
Estimated Total
$0
Crema Marfil Marble Hexagon 3" Mosaic
Sale price$14.63
Overview
Crema Marfil Marble Hexagon 3" is a beige marble mosaic tile sold by the sheet with per-square-foot pricing. Because every piece is cut from natural blocks, veining and tone shift from tile to tile, giving each installation a pattern of its own. Sheet-mounted for even spacing, it is at home on backsplashes, shower floors and walls, and feature strips.
Explore Marble Hexagon TilesDesign & Color Guide
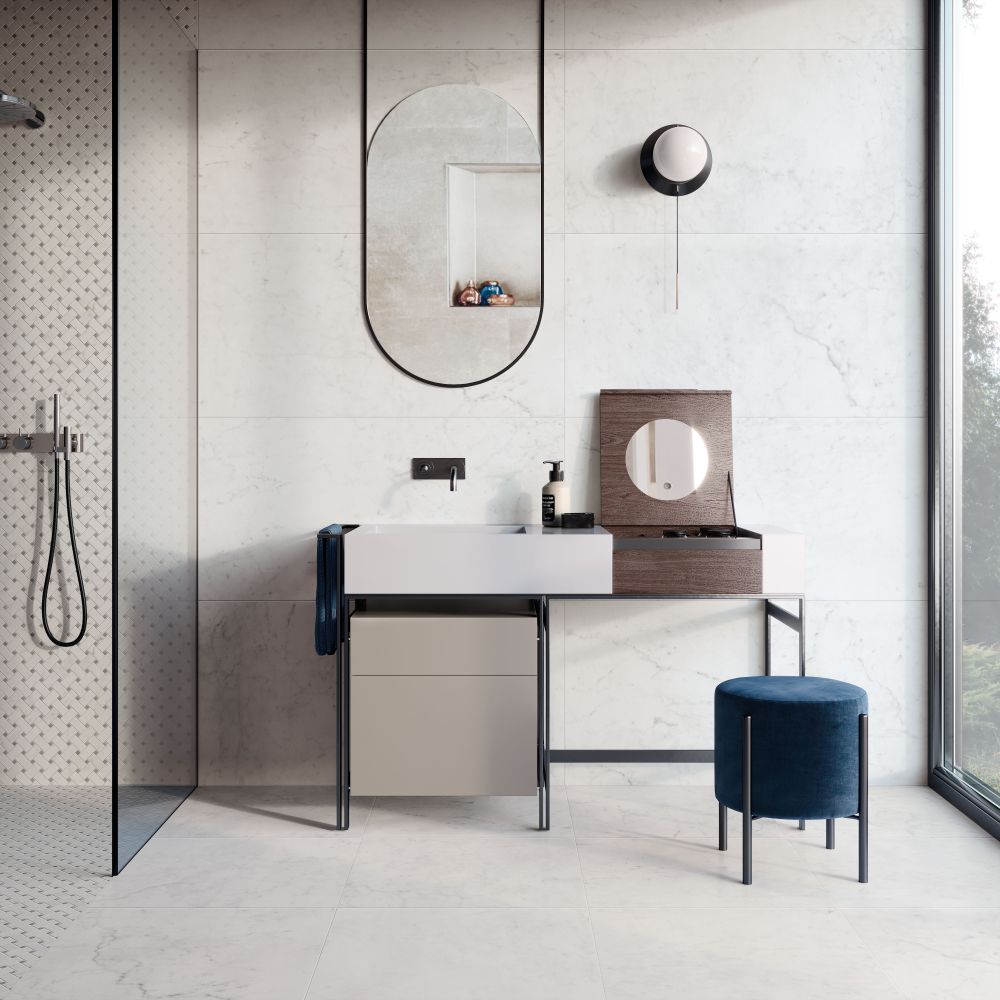
Beige carries warmth without leaning yellow, an easy base under white cabinetry, rattan, and linen. Tone-on-tone grout keeps the field calm; a darker grout adds definition. The hexagon geometry adds pattern without print, reading vintage in white and modern in bolder tones. As a mosaic, the joint pattern is part of the design; grout color choice changes the whole read of the sheet.
Explore Beige TilesAbout Marble
Marble is metamorphosed limestone, formed when heat and pressure recrystallize calcite into the veined, light-reflective stone quarried for centuries of architecture. Every tile is cut from natural blocks, so veining and tone vary from piece to piece, which is the material's signature rather than a defect. Marble stays cooler than the surrounding air, takes a high polish, and brings a depth of color that printed surfaces approximate but do not match.
Explore Marble TileInstallation & Care
Marble is a calcite stone and needs sealing at installation and roughly once a year after, depending on traffic. Wipe spills quickly, especially wine, citrus, and vinegar, which etch the surface on contact. Clean only with stone-safe pH-neutral cleaners; never use vinegar, bleach, or abrasive powders. Use walk-off mats at entries and felt pads under furniture. Install with white thinset to avoid bleed-through, and dry-lay tiles first to blend natural variation across the floor or wall.
Specifications
Key Specs
- Material
- Marble
- Size
- 3x3
- Application
- Kitchen, Bathroom, Shower, Wall
- Color
- Beige


Frequently Asked Questions
Does Crema Marfil Marble Hexagon 3" need to be sealed?
Yes. Like all natural and cement-based surfaces it should be sealed at installation and re-sealed periodically, roughly once a year in wet or high-traffic areas. Use pH-neutral cleaners between sealings.
How much does one sheet of Crema Marfil Marble Hexagon 3" cover?
One sheet covers 0.8 square feet. Enter your area in the calculator above and it converts square footage into full sheets, including any overage you add for cuts.
Can Crema Marfil Marble Hexagon 3" be used on a shower floor?
Yes. The small pieces on a mounted sheet follow the slope to the drain, and the extra grout lines add grip, which is why mosaics are the standard choice for shower floors.
Free Design Consultation
Transform your space with expert guidance! We helps you choose the perfect tiles to match your style, needs, and budget. Whether you're renovating a kitchen, upgrading your bathroom, or designing a commercial space, our experienced design consultants provide personalized recommendations, color coordination, and layout ideas to bring your vision to life.
- From concept to completion
- Handpicked samples
- Personalized consultation with a designer
- Ongoing support and follow-ups