


Emperador Dark Marble Wave Polished Border Corner
Subheading
Heading
Description
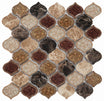
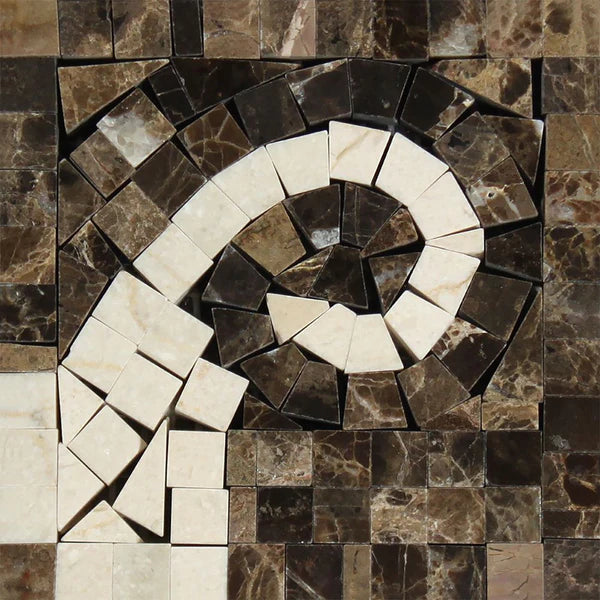
Alluring with elegance, the Emperador Dark Marble Wave Polished Border Corner is the best enhancement accent for wave-style marble borders that need exact directional transitions. This piece, made of rich natural Emperador Dark marble, boasts a polished surface set against meticulously exaggerated deep brown tones with bold white and beige veining, enhancing its multidimensional intricacy and visual flow.
Perfect for finishing the corner turns of wave-patterned marble borders, this corner trim aids in achieving order and harmony in backsplashes, feature walls, bathroom wainscoting, and fireplace surrounds. In combination with the Emperador Dark Wave Polished Border, it forms a strikingly elegant smooth uninterrupted decorative contour.
- Type: Corner Emperador Dark Marble Wave Border
- Finish: Polished
- Material: Natural Emperador Dark Marble
- Perfect For: Corners in wainscoting borders, decorative insets, and borders in bathroom walls and fireplace surrounds
With the Emperador Dark Marble Wave Polished Border Corner, stunning beauty of your marble installations will always be beautifully finished.
Specifications
Installation
MATERIAL INSPECTION
- Inspect goods for defects before installation.
INSTALLATION
- Use white thin-set mortar.
- Grout joint minimum: 1/16”.
Alluring with elegance, the Emperador Dark Marble Wave Polished Border Corner is the best enhancement accent for wave-style marble borders that need exact directional transitions. This piece, made of rich natural Emperador Dark marble, boasts a polished surface set against meticulously exaggerated deep brown tones with bold white and beige veining, enhancing its multidimensional intricacy and visual flow.
Perfect for finishing the corner turns of wave-patterned marble borders, this corner trim aids in achieving order and harmony in backsplashes, feature walls, bathroom wainscoting, and fireplace surrounds. In combination with the Emperador Dark Wave Polished Border, it forms a strikingly elegant smooth uninterrupted decorative contour.
- Type: Corner Emperador Dark Marble Wave Border
- Finish: Polished
- Material: Natural Emperador Dark Marble
- Perfect For: Corners in wainscoting borders, decorative insets, and borders in bathroom walls and fireplace surrounds
With the Emperador Dark Marble Wave Polished Border Corner, stunning beauty of your marble installations will always be beautifully finished.
MATERIAL INSPECTION
- Inspect goods for defects before installation.
INSTALLATION
- Use white thin-set mortar.
- Grout joint minimum: 1/16”.
FAQ
Use this text to share information about your product or shipping policies.
What is Emperador Dark Marble Wave Polished Border Corner?
It is designed for the ends of wave-style marble borders so that the borders meet on the edges of the walls in a smooth and visually pleasing manner.