


Thassos White Marble Bias with Grey Border
Subheading
Heading
Description
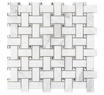
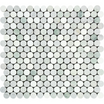
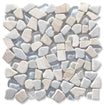
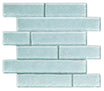
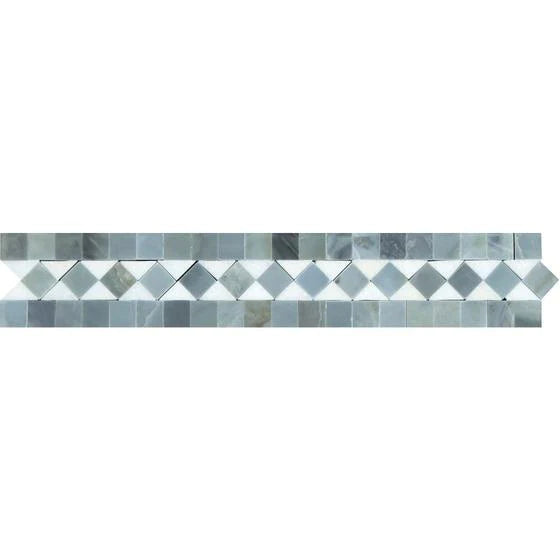
Traditional geometry comes alive with modern contrast in the Thassos White Marble Bias with Grey Border Mosaic Tile. This design showcases bright white Thassos marble accentuated by a bias (diagonal) cut which is framed by angeline cool grey marble seam. The polished effect enhances the sophisticated architectural tile design intended for both residential and commercial interiors, adding a touch of refinement.
This tile is ideal for backsplashes, bathroom feature walls, shower surrounds, and cladding around fireplaces. It adds motion as well as structure to spaces. The field of each tile is crisp white while the border is grey, providing a complimenting timeless contrast. Each sheet is mounted on mesh and comes in measurements of 12” by 12,” ensuring precise and smooth installation.
-
Finish: Polished
-
Material: Thassos White Marble + Grey Marble (e.g., Bardiglio)
-
Pattern: Bias layout with full border framing
-
Ideal For: Shower Walls, Vanity Backsplashes, Fireplace Surrounds, Accent Walls, Bathroom Niches
Specifications
Installation
MATERIAL INSPECTION
- Inspect goods for defects before installation.
INSTALLATION
- Use white thin-set mortar.
- Grout joint minimum: 1/16”.
Traditional geometry comes alive with modern contrast in the Thassos White Marble Bias with Grey Border Mosaic Tile. This design showcases bright white Thassos marble accentuated by a bias (diagonal) cut which is framed by angeline cool grey marble seam. The polished effect enhances the sophisticated architectural tile design intended for both residential and commercial interiors, adding a touch of refinement.
This tile is ideal for backsplashes, bathroom feature walls, shower surrounds, and cladding around fireplaces. It adds motion as well as structure to spaces. The field of each tile is crisp white while the border is grey, providing a complimenting timeless contrast. Each sheet is mounted on mesh and comes in measurements of 12” by 12,” ensuring precise and smooth installation.
-
Finish: Polished
-
Material: Thassos White Marble + Grey Marble (e.g., Bardiglio)
-
Pattern: Bias layout with full border framing
-
Ideal For: Shower Walls, Vanity Backsplashes, Fireplace Surrounds, Accent Walls, Bathroom Niches
MATERIAL INSPECTION
- Inspect goods for defects before installation.
INSTALLATION
- Use white thin-set mortar.
- Grout joint minimum: 1/16”.
FAQ
Use this text to share information about your product or shipping policies.
What is a bias pattern tile?
A bias pattern is a diagonal layout of square tiles, often used to add movement and a sense of expansion to walls or floors. This version includes a contrasting grey marble border for visual framing.