


Laurel Bayside Buff 8.98 x 48.03
$84.9
/sqft
$84.9 /box
1 box covers 1 sqft
1 box covers 1 sqft
Quantity Calculator
* Min. order:
Boxes
Estimated Total
$0
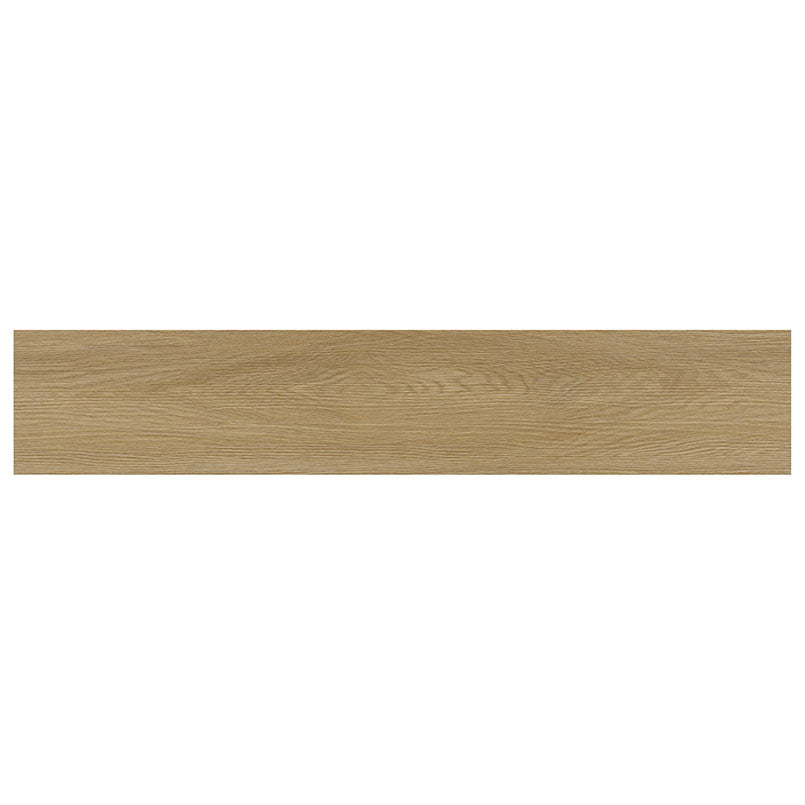
Laurel Bayside Buff 8.98 x 48.03
Sale price$84.90
Overview
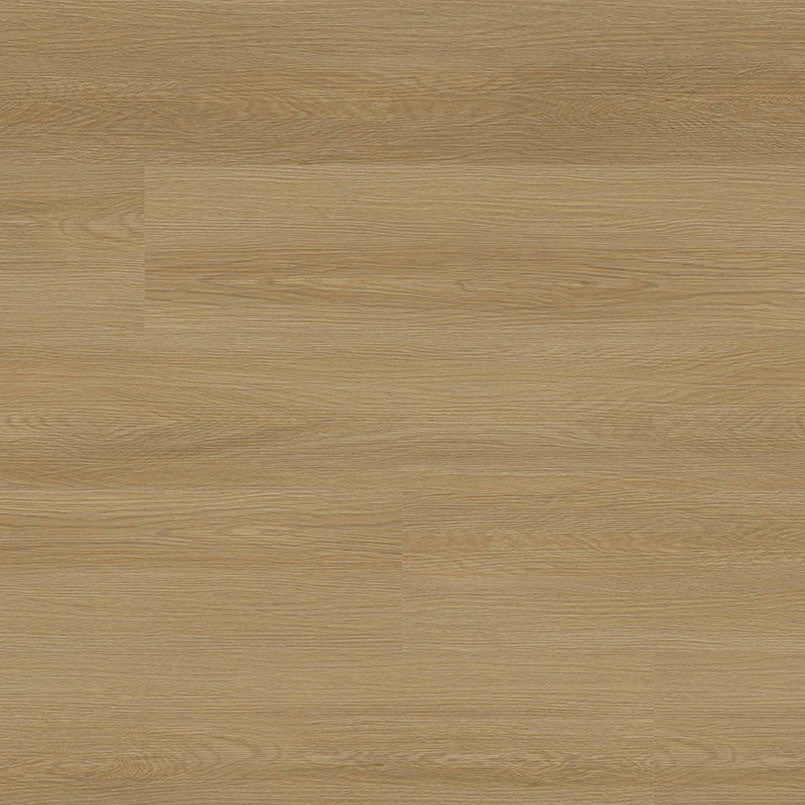
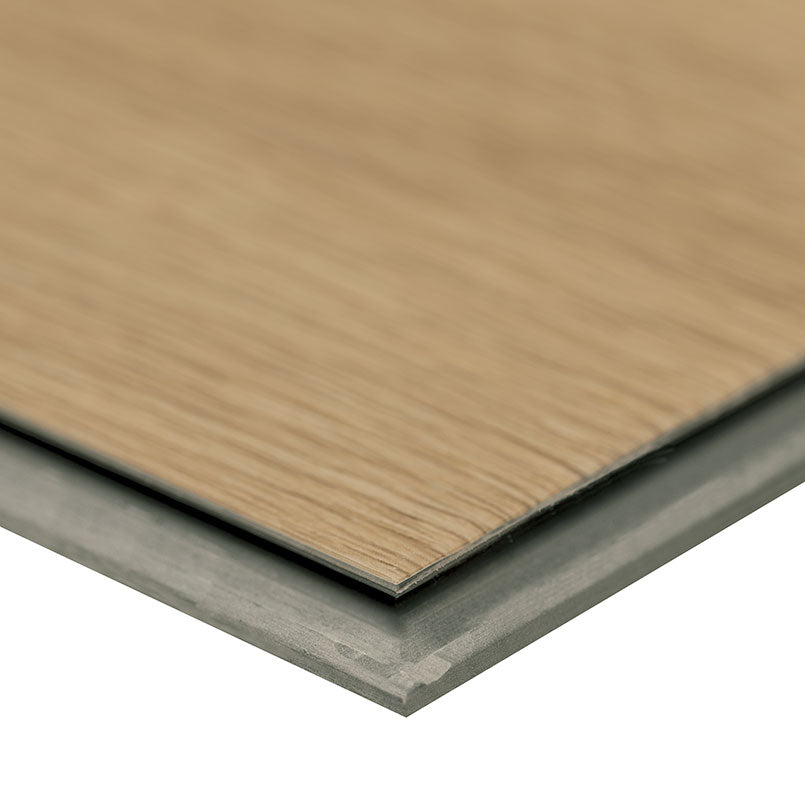
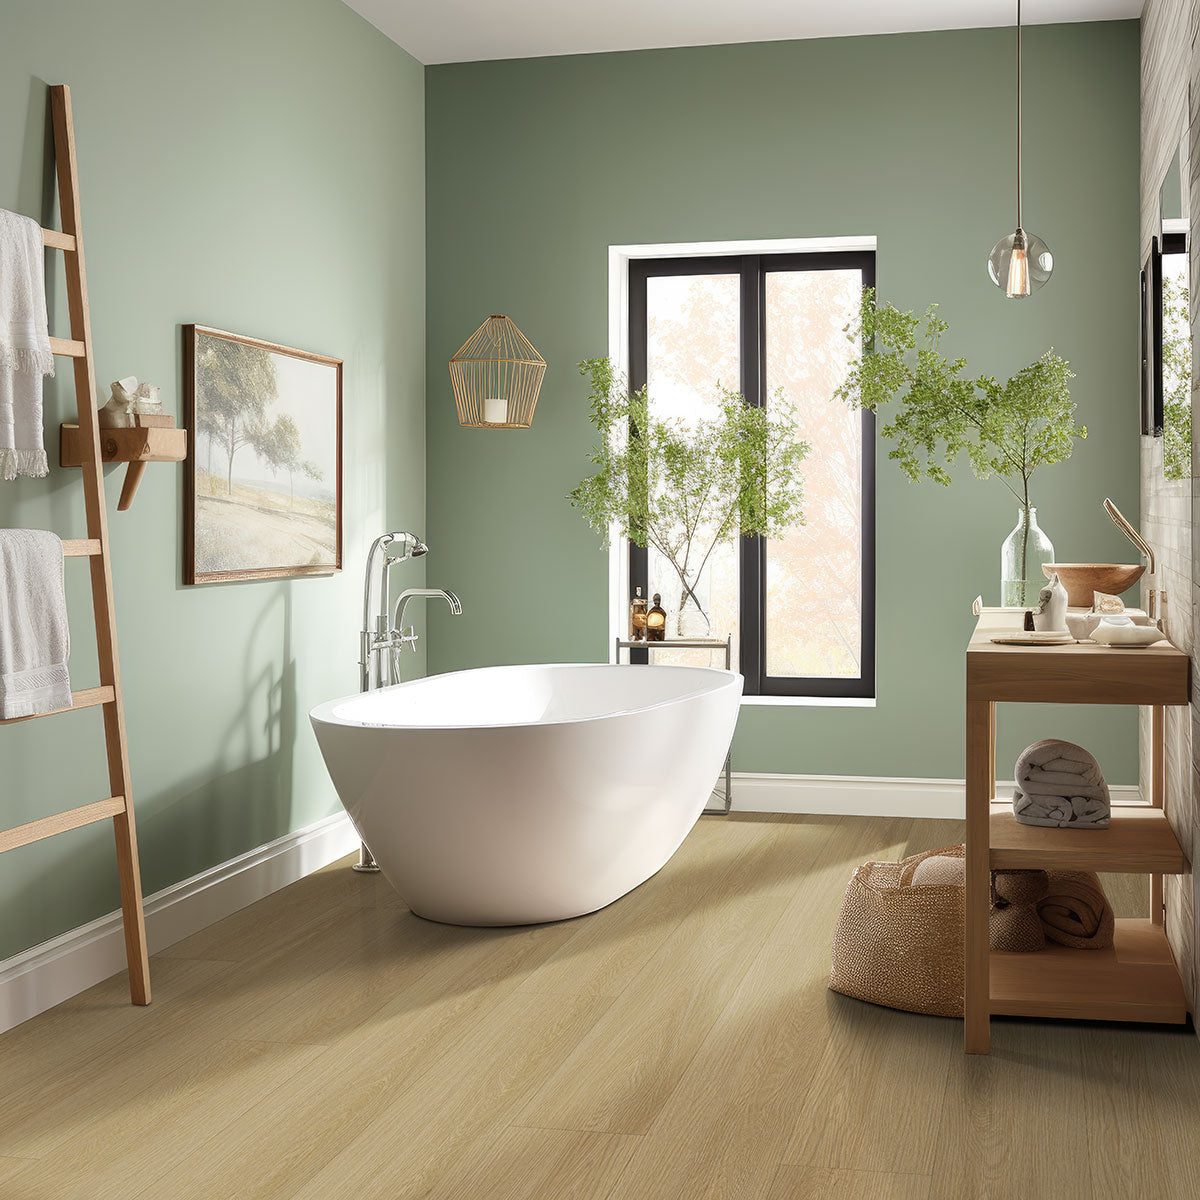
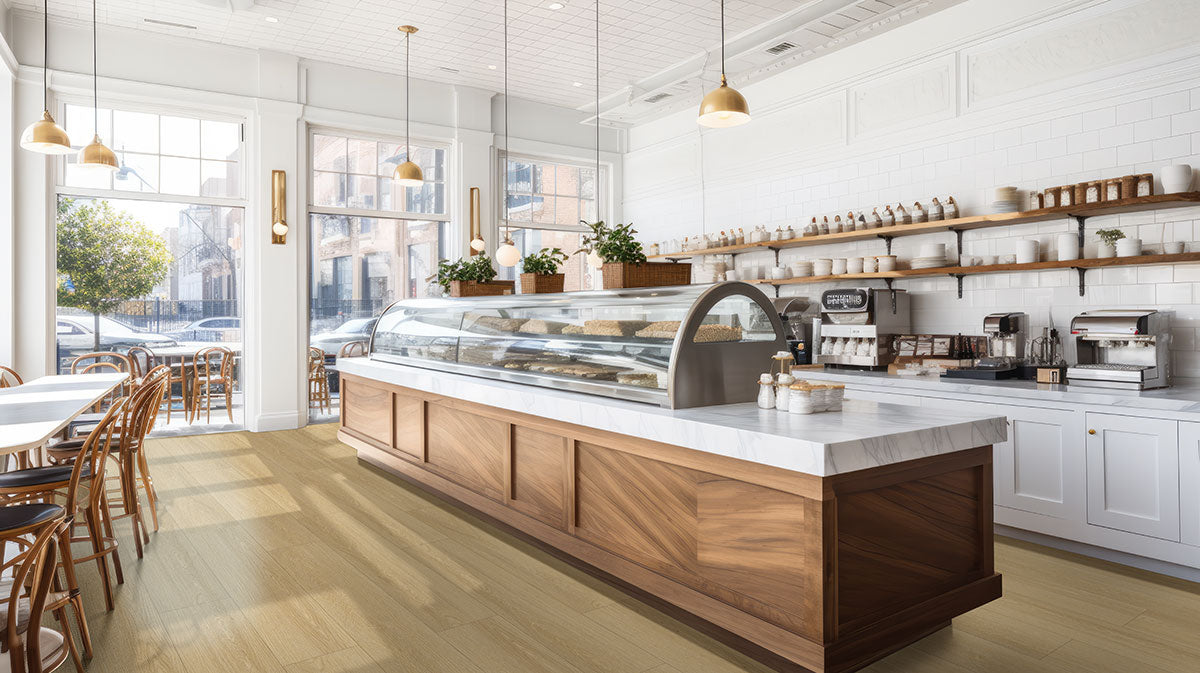
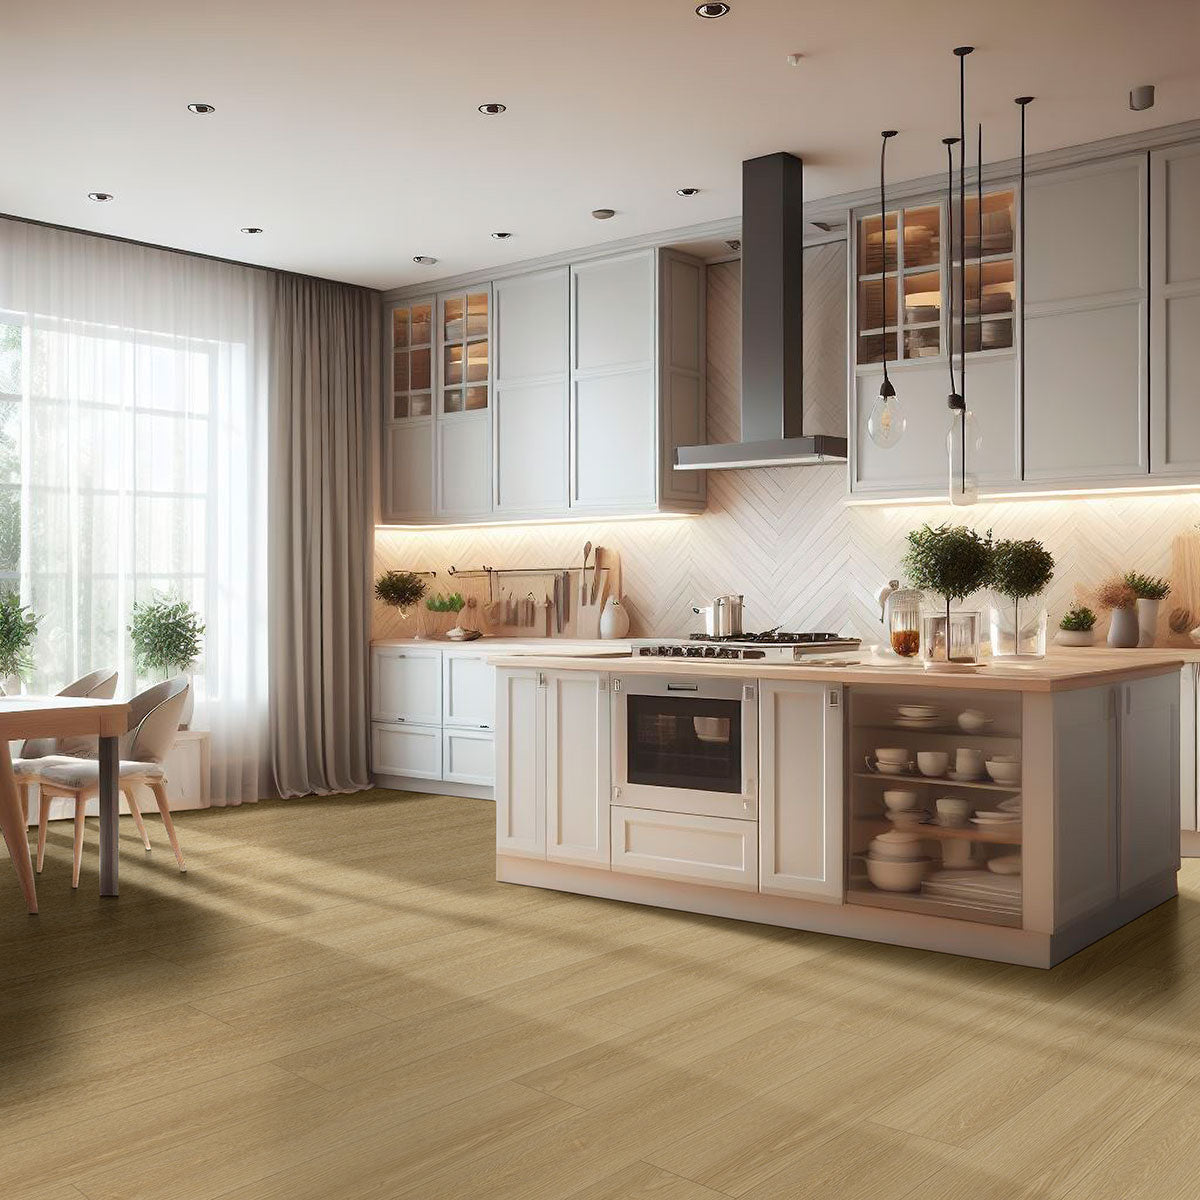
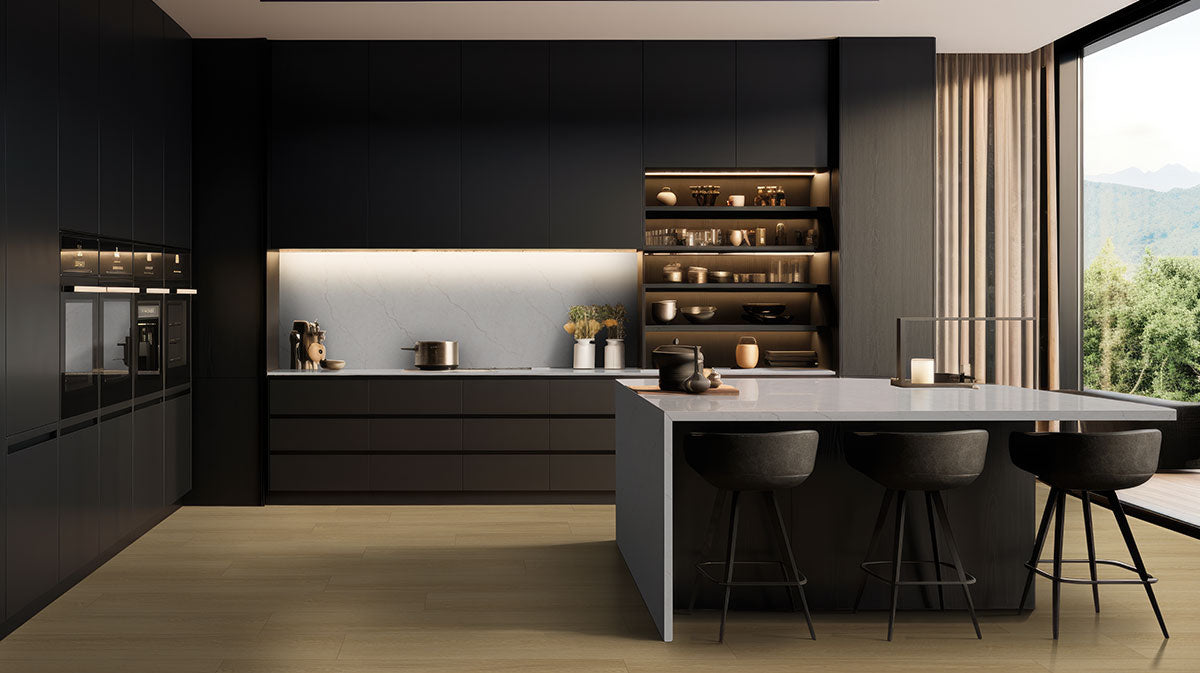
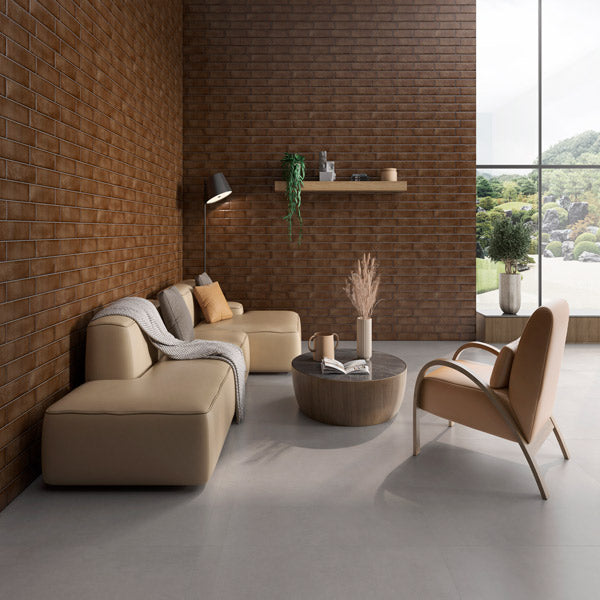
Laurel Bayside Buff is a blonde luxury vinyl plank offered in a 8.98 by 48.03 format. The rigid vinyl construction is fully waterproof, warmer and quieter underfoot than tile, and forgiving over imperfect subfloors. It floats or glues down over most hard subfloors, covering whole homes, kitchens, and basements without transition anxiety.
Design & Color Guide
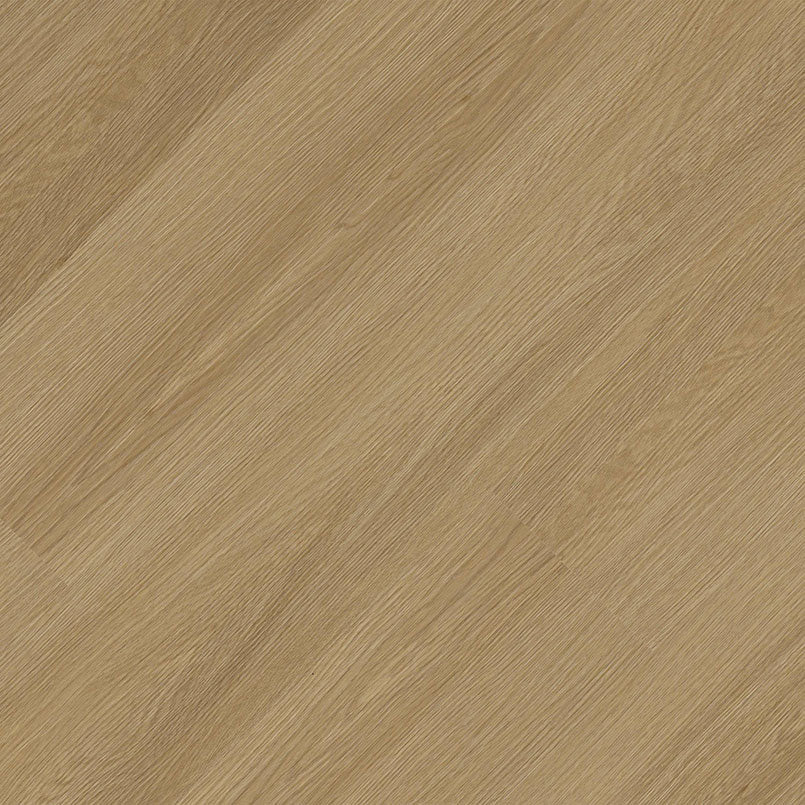
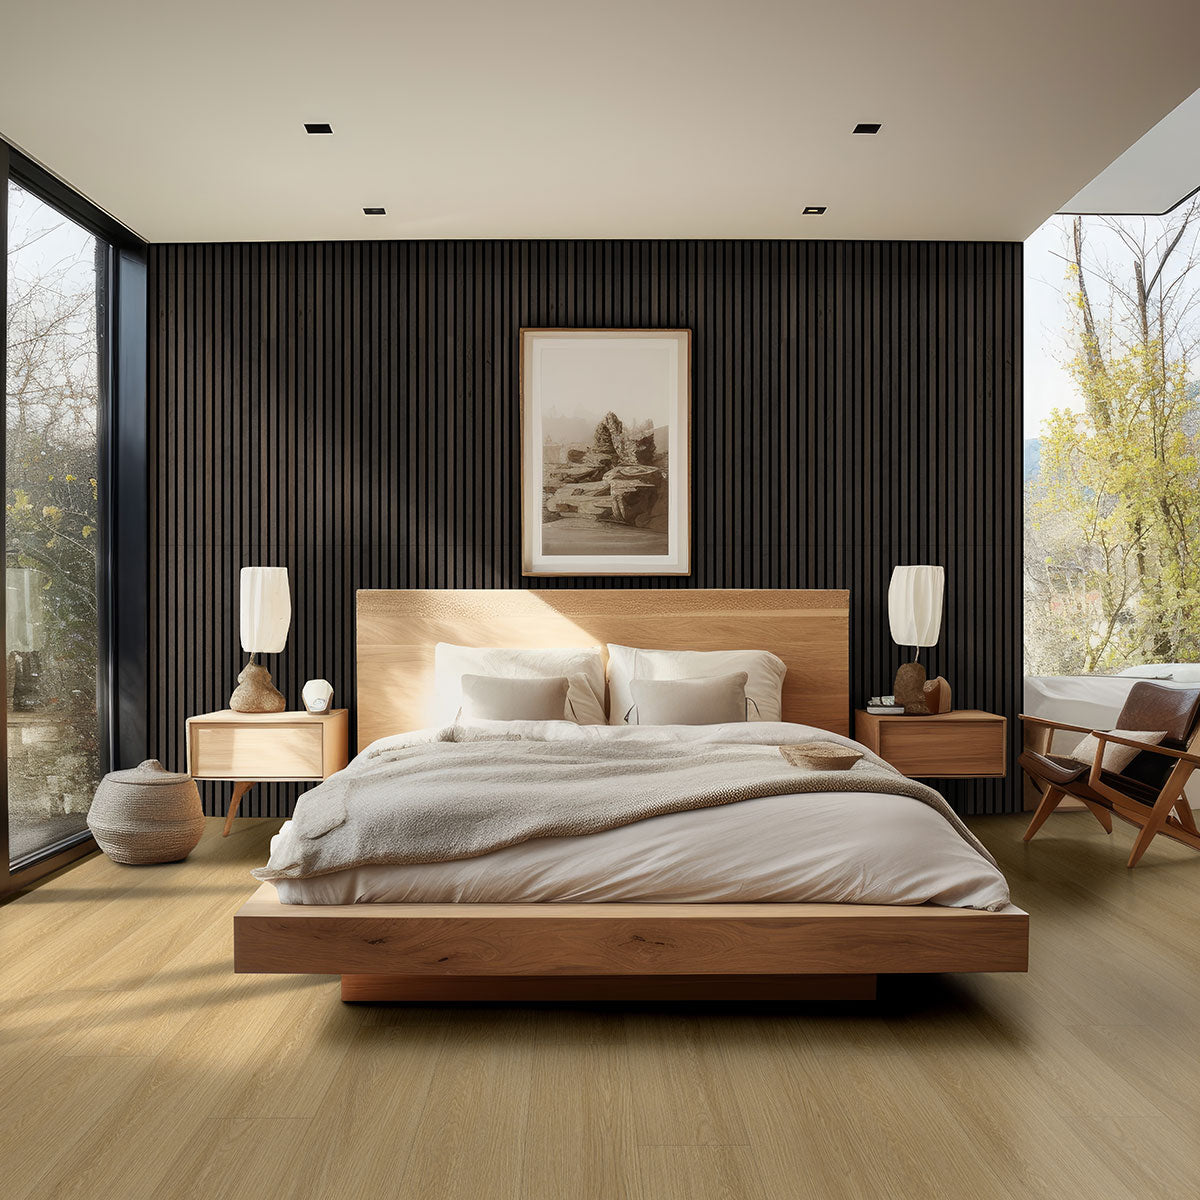
Blonde wood tones brighten floors the way pale oak does, keeping rooms light while adding grain and warmth. It suits Scandinavian schemes, white walls, and soft textiles. Run planks parallel to the longest wall to stretch the room, or herringbone them for a tailored floor.
Explore Beige TilesAbout Luxury Vinyl
Luxury vinyl tile and plank is a layered resilient floor: a printed design layer under a clear wear layer, bonded to a rigid or flexible vinyl core. It is fully waterproof, warmer and quieter underfoot than tile, and forgiving of subfloor imperfections that would telegraph through stone. Modern printing and embossing reproduce wood grain and stone texture convincingly, which makes LVT a practical choice for kitchens, basements, and whole-home installs where comfort and water resistance both matter.
Explore Vinyl FlooringInstallation & Care
Luxury vinyl needs no sealing or waxing. Sweep or vacuum without a beater bar, and damp-mop with a pH-neutral cleaner made for vinyl. Avoid steam mops, abrasive scrubbers, and rubber-backed mats, which can discolor the wear layer. Use felt pads under furniture and lift rather than drag heavy pieces. Follow the manufacturer's acclimation and expansion-gap instructions during installation, and keep direct sunlight moderated with window coverings to prevent fading over years of exposure.
Specifications
Key Specs
- Material
- Lvt
- Color
- Blonde
- Look
- 29.94
Dimensions
- Box Coverage (sqft)
- 10
- Pieces Per Box
- 10.0


Frequently Asked Questions
Is Laurel Bayside Buff waterproof?
Yes. The vinyl construction is fully waterproof, which makes it suitable for kitchens, bathrooms, laundry rooms, and basements.
How much does one box of Laurel Bayside Buff cover?
One box covers 10 square feet with 10 pieces per box. Enter your area in the calculator above and it converts square footage into full boxes, including any overage you add for cuts.
Can Laurel Bayside Buff go over my existing floor?
In most cases yes. It installs over flat, sound hard surfaces; follow the manufacturer's subfloor preparation and expansion-gap guidance.
Free Design Consultation
Transform your space with expert guidance! Our Free Design Consultation service helps you choose the perfect tiles for your home or project. Whether you're remodeling your kitchen, bathroom, or an entire space, our tile specialists will provide personalized recommendations based on your style, budget, and needs.
- Design to delivery
- Curated samples
- One-on-one with designer
- Dedicated follow-ups
- Schedule your interview