


- Learn how to fix a cracked tile in under one hour using simple tools and epoxy.
- Discover why immediate repair prevents water damage and saves money long-term.
- Follow step-by-step instructions with pro tips to ensure a flawless, lasting result.
- Get expert advice on when to repair vs. replace and where to find matching tiles at Mosaicenter.
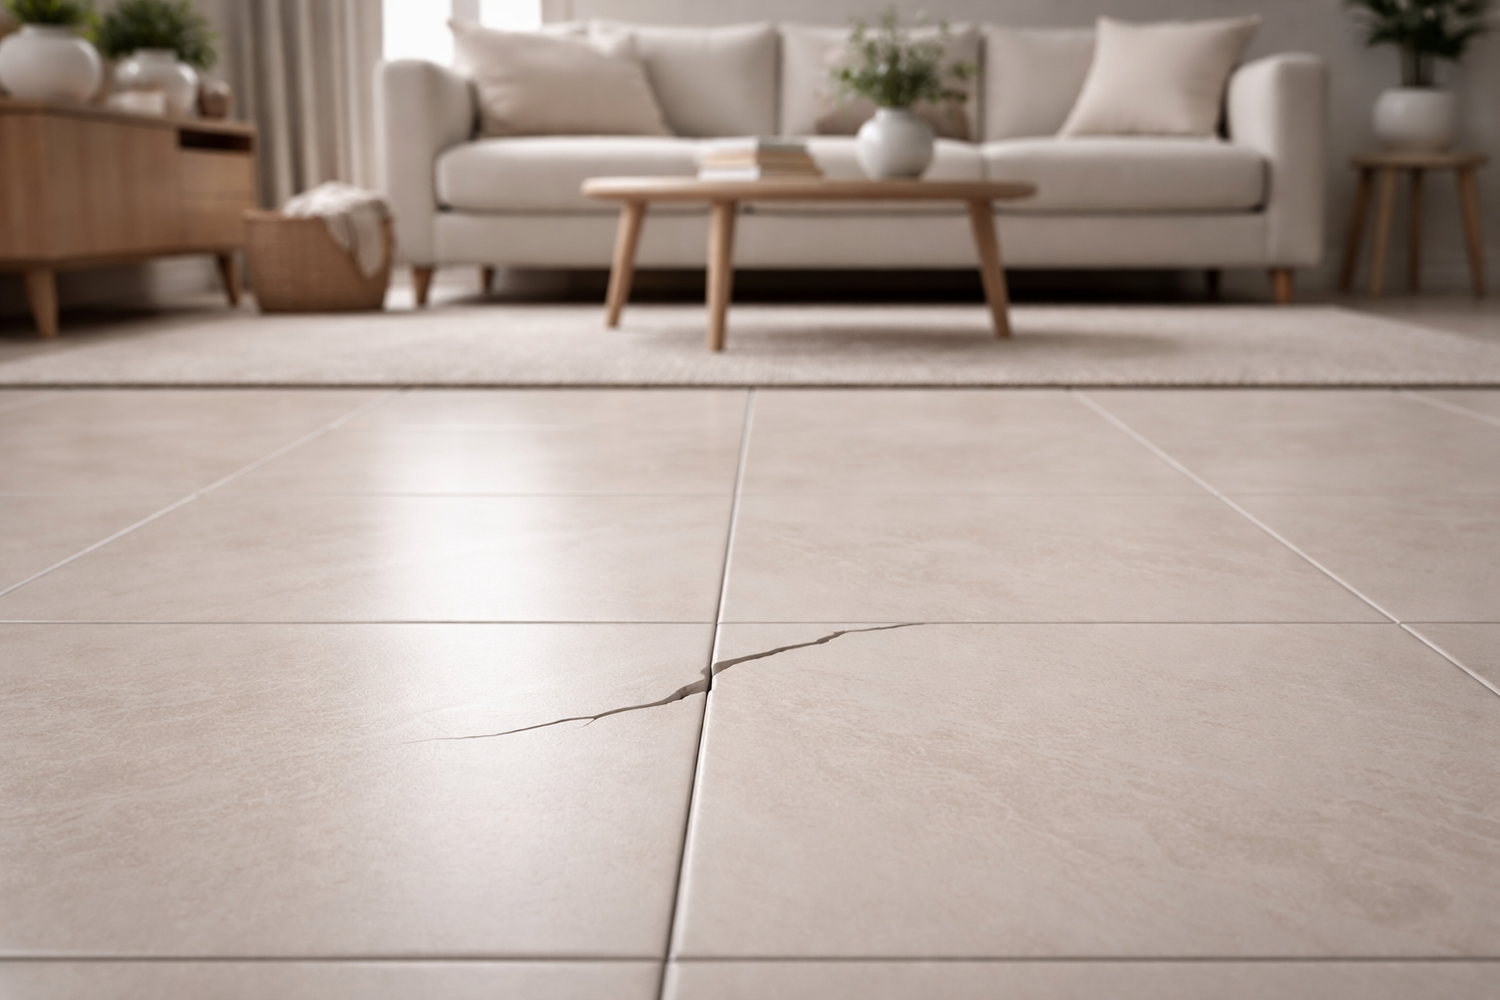
You’ve just noticed it: a small crack in your beautiful tile floor. It may seem like a minor issue, but even a small crack can spread, causing bigger damage over time. Not to mention, it’s an eyesore that affects the overall aesthetic of your room.
The good news is that you don’t need to replace the entire floor or hire a professional to fix it. With the right tools and a little effort, you can repair that cracked tile in just one hour.
In this comprehensive DIY guide, we’ll walk you through the steps to repair a cracked tile quickly and effectively, without the need for expensive replacements. Whether you’re a seasoned DIYer or a beginner, this simple process will save you time and money.
Let’s dive in!
Why Cracked Tiles Need Quick Repair

Cracked tiles are more than just an aesthetic problem. When left untreated, cracks can expand, causing further damage and even leading to more costly repairs. Here's why you should fix a cracked tile as soon as you notice it:
- Prevents Moisture Damage: A crack can allow water to seep beneath the tile, damaging the underlying structure and causing mold or mildew growth.
- Stops Bacteria and Dirt Build-Up: Cracks can trap bacteria and dirt, creating unsanitary conditions in your home.
- Maintains the Tile’s Integrity: Even small cracks can grow bigger over time if ignored, eventually causing the tile to break completely.
- Saves Money: Fixing the crack early is a cost-effective solution compared to replacing the entire tile or floor.
At Mosaicenter, we pride ourselves on offering high-quality tiles designed for durability and easy maintenance. Quick repairs will help preserve the beauty and functionality of your space without having to spend on costly replacements.
What Tools and Materials You’ll Need
Before you begin, make sure you have all the necessary tools and materials. Here’s what you’ll need to repair a cracked tile in under an hour:
Tools:
- Putty knife or plastic scraper: For spreading the epoxy or repair compound into the crack.
- Sponge or microfiber cloth: For cleaning the cracked area and wiping off excess epoxy.
- Painter’s tape: Optional, for keeping your repair lines clean and precise.
- Safety gloves: To protect your hands during the repair process.
- Safety goggles: Optional, for additional safety when working with epoxy.
- Small brush: For applying grout or detailing around the repair area.
Materials:
-
Epoxy or tile repair compound:
These are now standard for crack repair, offering durable, near-invisible fixes when color-matched. Epoxy grout is also favored for its thick consistency and ability to seal cracks and restore integrity effectively.
- Tile cleaner or rubbing alcohol: To clean the cracked tile and remove any dirt, oils, or grime before applying the epoxy.
- Grout or tile paint: To blend the repaired area with the surrounding tiles.
- Sealant (optional): To protect the repair and grout from future damage.
Pro Tip: You can find all the necessary materials and matching tiles at Mosaicenter. We offer a wide range of high-quality, repair-friendly options.
In 2025, tile repair is enhanced by innovations such as eco-friendly cleaning agents, laser-guided surface preparation tools, and smart sealants that offer superior water protection. These advancements support the trend towards immediate, cost-effective repairs that extend tile lifespan by decades.
Now that you’ve gathered your materials and tools, it’s time to get to work. Here’s a simple, step-by-step guide to repairing your cracked tile in less than an hour:
Step 1: Clean the Tile Surface (5 Minutes)
The first step in any tile repair is to thoroughly clean the surface. This ensures that the epoxy or repair compound will adhere properly to the tile.
How to clean the crack:
- Use a tile cleaner or rubbing alcohol to remove dirt, grease, and debris from the cracked area.
- Wipe down the surrounding tile to ensure no oils or grime are present.
Pro Tip: Be sure the crack is completely dry before moving to the next step. Any moisture will interfere with the epoxy’s ability to bond.
Step 2: Mix the Epoxy or Repair Compound (5 Minutes)
Most tile repair compounds come in two parts (resin and hardener) that need to be mixed. Follow the manufacturer’s instructions to prepare your epoxy or compound.
How to mix epoxy:
- In a disposable container, combine the two parts of the epoxy or repair paste.
- Stir thoroughly until the mixture is smooth and uniform. Make sure there are no lumps or bubbles.
Pro Tip: For a seamless repair, use custom pigment mixing with epoxy to achieve an exact color match. For aged or unique tiles, professional expertise or leftover original tiles may be necessary to overcome color-matching challenges.
Step 3: Fill the Crack (15 Minutes)
Once your epoxy is ready, it’s time to apply it to the crack.
How to fill the crack:
- Use a putty knife or plastic scraper to press the epoxy into the crack.
- Spread the mixture evenly, making sure it fills the crack.
- Smooth the surface of the repair to match the texture of the tile.
- Remove any excess epoxy to avoid uneven repairs.
Pro Tip: Use painter’s tape around the crack for a cleaner application, especially if you’re repairing tiles in a noticeable area.
Step 4: Let the Epoxy Cure (20 Minutes)
Allow the epoxy to set and harden. The curing time can vary depending on the product, so be sure to follow the manufacturer’s instructions.
How to cure the epoxy:
- Leave the repair undisturbed for the specified time. Typically, epoxy sets in 15–30 minutes.
- Avoid touching the area while the repair is curing to prevent smudging.
Pro Tip: Use a fan or open window to speed up the drying process, but avoid using heat directly on the epoxy.
Step 5: Clean and Polish (10 Minutes)
After the epoxy has cured, you’ll need to clean up any remaining residue and polish the tile to restore its shine.
How to clean and polish:
- Use a damp sponge or cloth to wipe away any excess epoxy or residue from the tile surface.
- Once the surface is dry, use a soft cloth to polish the tile, restoring its original shine.
Pro Tip: After cleaning, sand the repair for a flush finish, then apply a urethane or grout sealer to protect against water damage and mold growth and ensure long-term durability.
Common Mistakes to Avoid
Even a simple DIY tile repair can go wrong if you’re not careful. Avoid these common mistakes to ensure a successful repair:
- Skipping surface cleaning: Always clean the area before applying epoxy to ensure proper adhesion.
- Using mismatched epoxy: Choose an epoxy color that closely matches your tile for a seamless repair.
- Applying too much pressure: Don’t press too hard when filling the crack, as this can cause the crack to widen.
- Not allowing the epoxy to cure fully: Ensure the repair is completely set before cleaning or walking on it.
- Failing to seal or polish: Sealing the repair ensures its longevity and prevents dirt from accumulating.
When to Replace Instead of Repair

Sometimes, a cracked tile is beyond repair. Here are a few signs that it’s time to replace the tile instead of trying to fix it:
- Cracks are too large: If the crack is wider than 1/8 inch, it may be difficult to repair effectively.
- Structural damage: If the tile is loose or has a hollow sound, the damage likely goes deeper than just the surface crack.
- Multiple tiles are damaged: If several tiles are cracked or broken, replacing the entire section may be more cost-effective.
If you find that your tile is beyond repair, don’t worry. Mosaicenter offers a wide variety of beautiful and durable replacement tiles that will perfectly match your existing design. Explore our collection here.
Where to Find Matching Tiles
Finding a tile that matches the style, color, and texture of your existing floor can be a challenge. Fortunately, Mosaicenter offers a vast selection of tiles in different materials, colors, and finishes, ensuring that you can find the perfect replacement for your damaged tile.
Why Mosaicenter?
- We offer a wide variety of high-quality ceramic, porcelain, and mosaic tiles.
- Our tiles are designed for easy replacement, making repairs quick and simple.
- We provide matching grout and other materials to ensure a seamless repair.
Pro Tip: It’s always a good idea to keep a few extra tiles from your original purchase in case of future repairs.
Expert Tips for Long-Lasting Results

Once you’ve repaired your cracked tile, here are some maintenance tips to ensure that your floors stay in excellent condition for years to come:
- Seal grout lines: Apply a grout sealer annually to prevent moisture and stains from seeping in.
- Clean regularly: Use non-acidic cleaners to avoid eroding the surface of your tiles.
- Protect from heavy impacts: Avoid dragging furniture or dropping heavy objects on your tiles.
- Inspect periodically: Look for signs of wear or new cracks and fix them immediately to prevent further damage.
Did You Know?
Well-maintained ceramic and porcelain tiles can last 50+ years with minimal upkeep. Proper sealing and cleaning can help preserve their strength and appearance.
Conclusion
Repairing a cracked tile doesn’t have to be a stressful or expensive project. With the right tools, a little patience, and the steps outlined in this guide, you can restore your floor in under an hour. Plus, by acting quickly, you’ll prevent further damage and keep your space looking pristine.
Ready to upgrade your space?
Explore Mosaicenter’s collection of premium tiles to refresh your home with lasting beauty and durability.

Halil I Oguz
At Mosaicenter's, Halil I Oguz brings a unique blend of strategic insight and creative flair to our digital experience. As our dedicated Content Strategist, he masterfully curates the online journey, allowing the inherent quality and design artistry of our premium tiles to truly shine.
From showcasing the intricate patterns of our mosaics to detailing the robust, scratch-resistant and water-resistant finishes of our porcelain and natural stone, Halil crafts content that is both informative and deeply engaging.
His work empowers Mosaicenter's clients to confidently select from our extensive range, helping them transform spaces with tiles that reflect both enduring style and practical excellence.
Leave a comment
This site is protected by hCaptcha and the hCaptcha Privacy Policy and Terms of Service apply.