


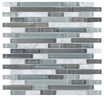
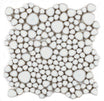
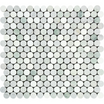
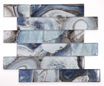

30 Seconds Summary
- For a durable mosaic tile bathroom floor, choose slip-resistant floor tiles and properly prepare, level, and waterproof the subfloor before installation.
- Install mesh-backed mosaic tiles with the correct modified thinset mortar and even grout joints for a professional finish.
- Complete your bathroom mosaic tile installation with proper sealing to improve moisture resistance and prevent stains in wet areas.
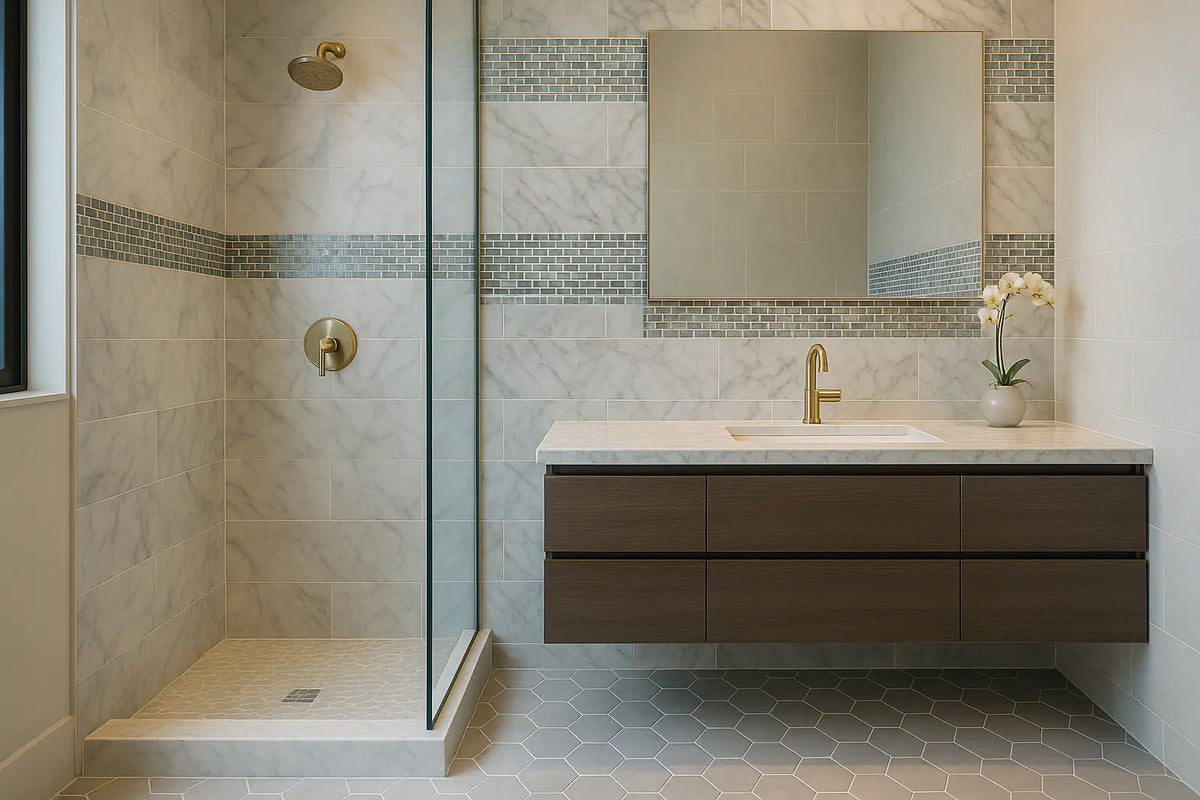
Installing mosaic tile on a bathroom floor can transform an ordinary space into a detailed, stylish, and highly personalized design. From elegant marble mosaics to durable porcelain patterns, mosaic flooring adds texture, visual interest, and a luxury feel to bathrooms and shower areas.
However, installing mosaic tiles requires more attention than standard large-format tiles. Small tile pieces, mesh backing, grout lines, and moisture exposure mean proper preparation and technique are essential for a professional result.
In this DIY guide, Mosaicenter explains how to install mosaic bathroom floor tiles, including choosing the right materials, preparing the surface, applying thinset correctly, setting mesh-backed sheets, grouting, sealing, and avoiding common installation mistakes.
Is Mosaic Tile the Best Choice for Bathroom Floors?
Yes, mosaic tile is an excellent choice for bathroom floors and shower areas when the correct material and finish are selected. The smaller tile pieces create more grout lines, which can improve traction in wet environments. Mosaic sheets are also easier to adjust around drains, corners, and curved areas compared with large-format tiles.

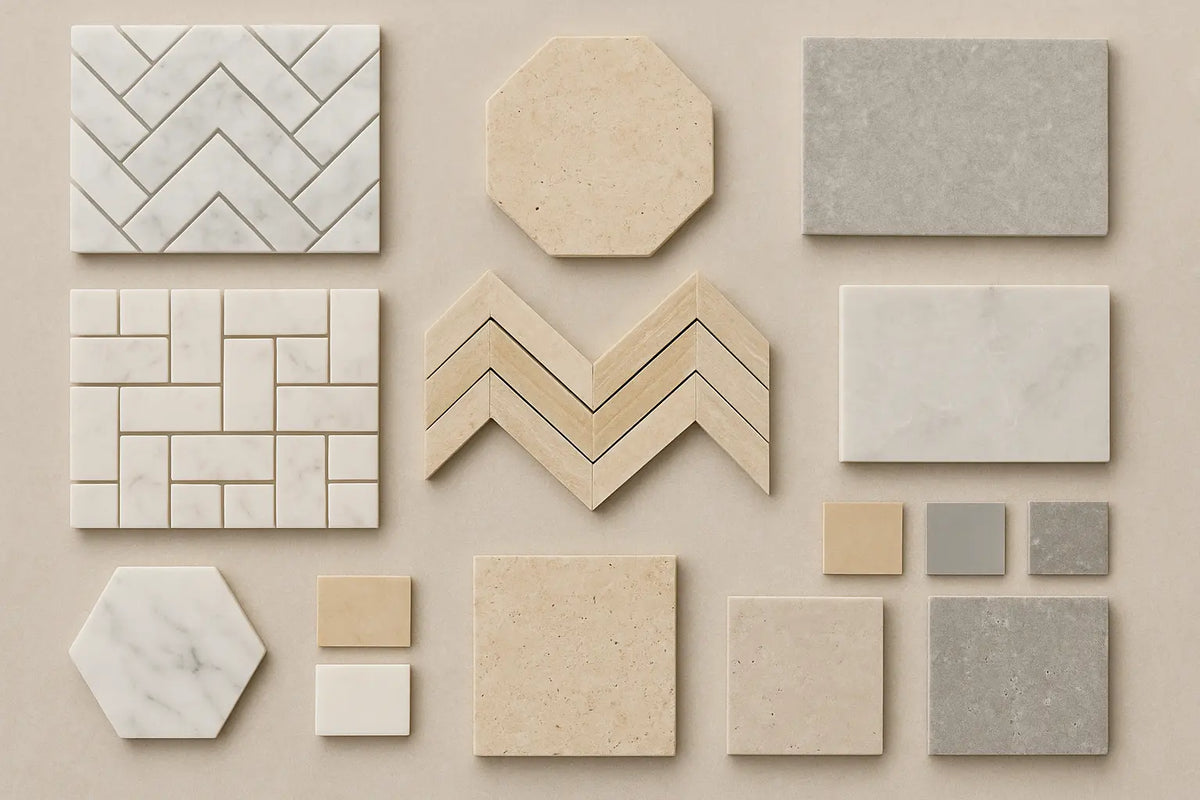
Popular options for bathroom tiles include:
- Porcelain mosaic tiles for durability, water resistance, and easy maintenance.
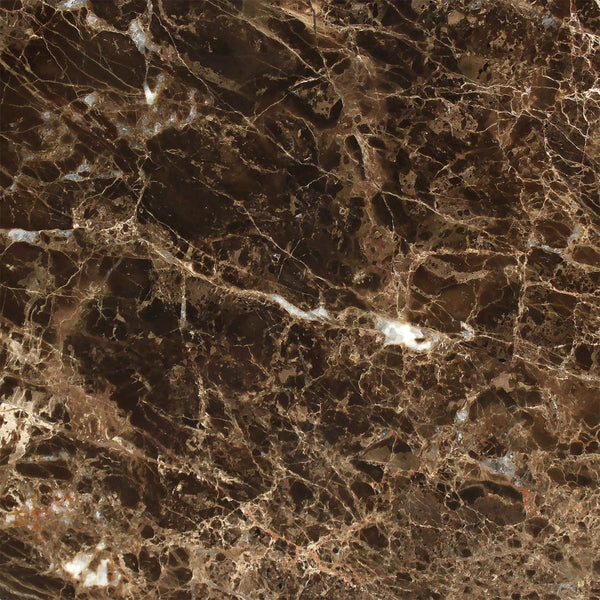
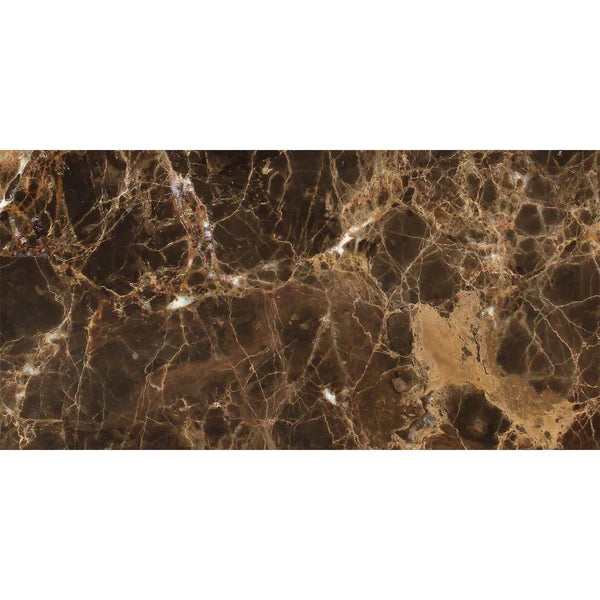
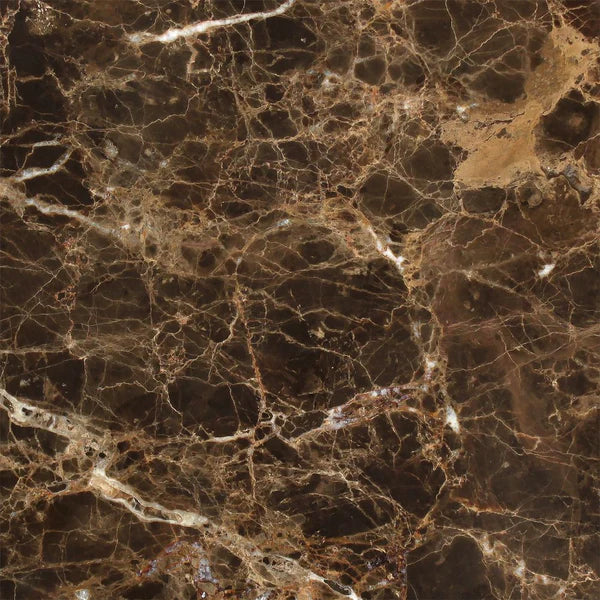
- Natural stone mosaics for a luxurious, organic look.
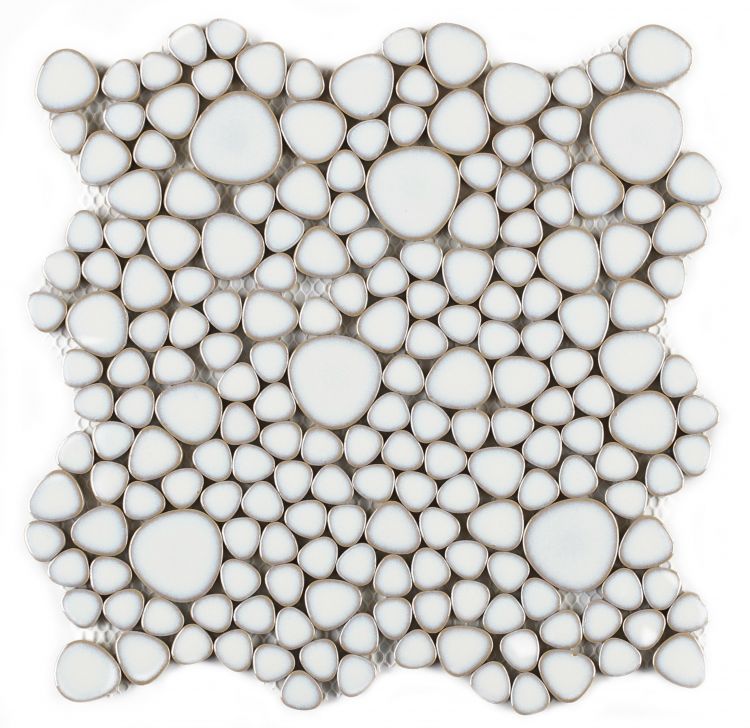
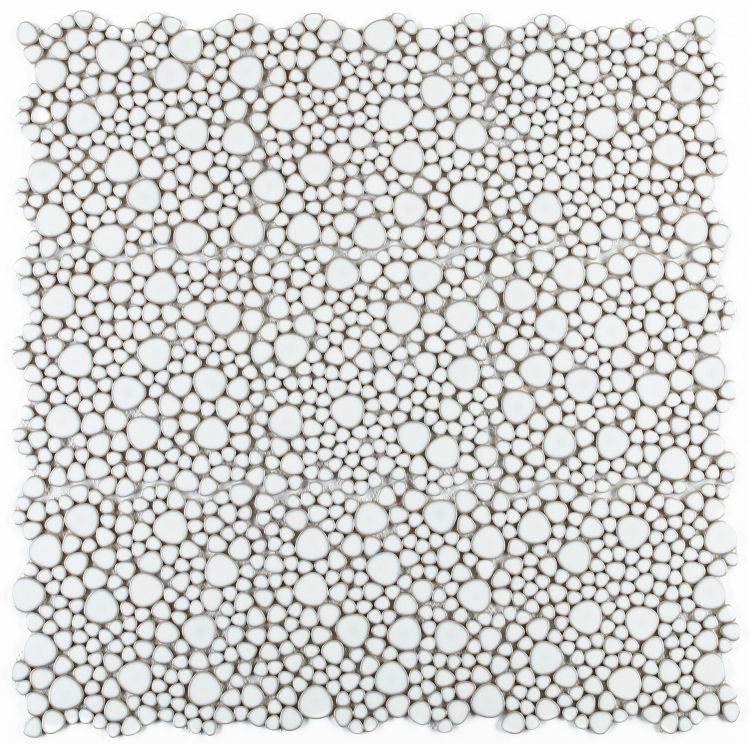
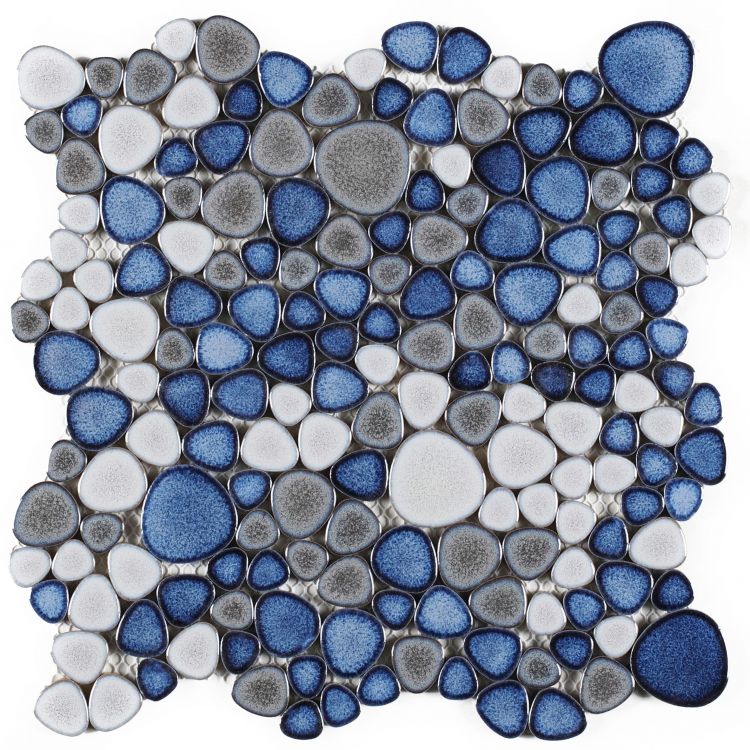
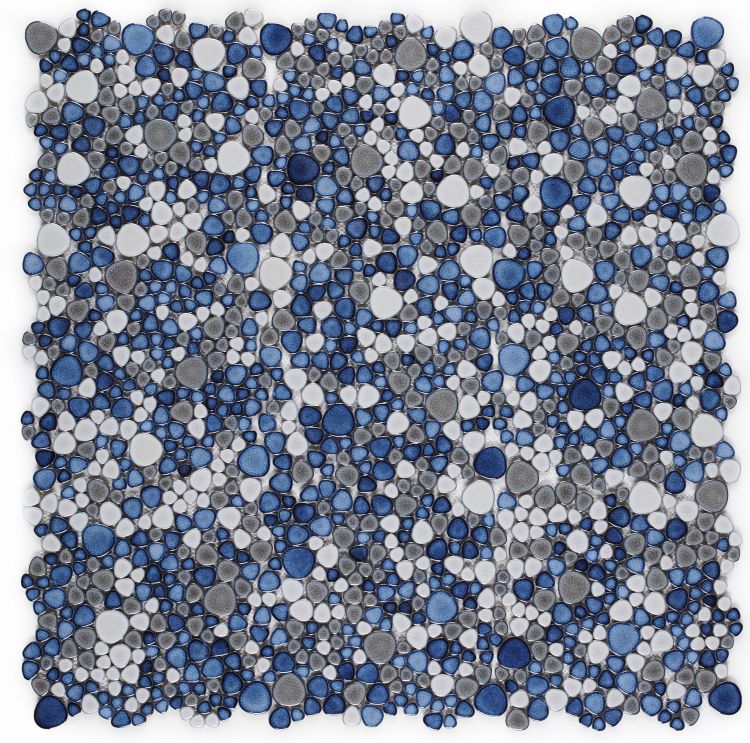
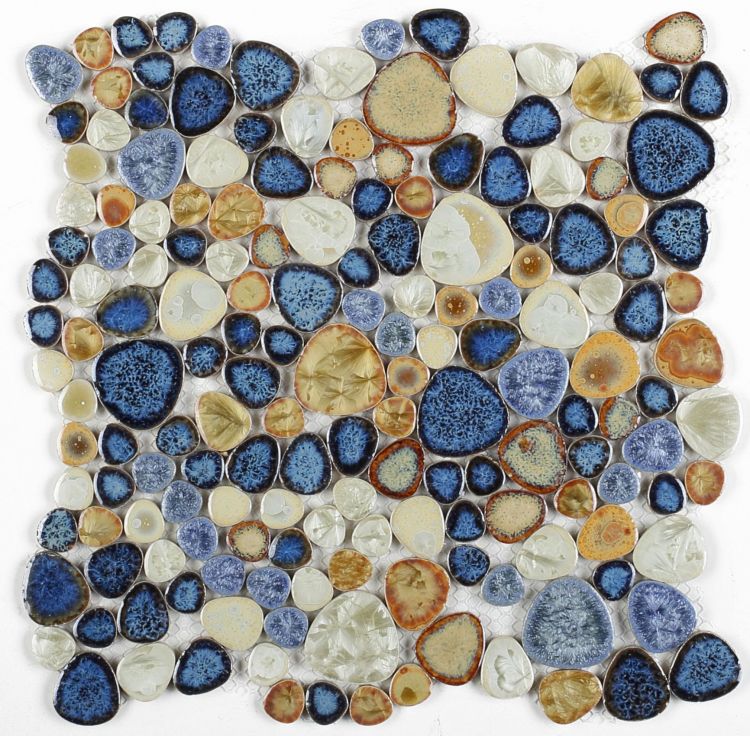
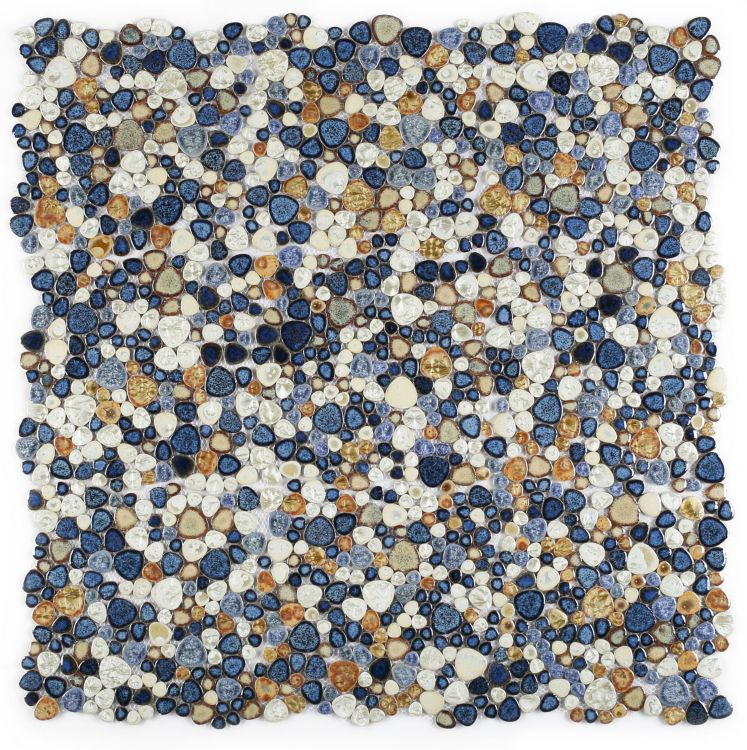
- Pebble mosaics for spa-inspired shower designs.
- Textured mosaics for better grip in wet areas.

However, not every mosaic tile is suitable for flooring. Always consider the tile's durability, slip resistance, surface texture, and maintenance requirements before installation.
Tools and Materials for Installing Mosaic Bathroom Floor Tile
Before starting your installation, prepare the following:
- Mosaic tile sheets
- White modified thinset mortar (especially important for glass or light-colored stone mosaics)
- 3/16-inch V-notch trowel
- Tile float
- Grout float
- Tile spacers if needed
- Wet saw or tile nippers
- Utility knife for cutting mesh backing
- Level
- Measuring tape and chalk line
- Mixing bucket and paddle
- Sponge and clean water
- Grout and tile sealer

Preparing the Bathroom Surface Before Installing Mosaic Tile
A stable, waterproof base is essential to prevent mosaic tiles from shifting or cracking.
Subfloor Leveling and Cleaning
- Clear all debris, dust, and contaminants from the existing floor to ensure a strong bond.
- Use self-leveling underlayment to eliminate dips or humps.
- Verify the structural integrity of the joists to prevent future cracking of the tile.
Installing Waterproofing and Underlayment
Install cement board to provide a water-resistant, rigid foundation that eliminates subfloor deflection. In high-moisture zones, apply waterproofing membranes to create an impermeable barrier that prevents leaks from penetrating the subfloor.
Plan Your Mosaic Layout
Before applying mortar, dry-lay your mosaic sheets on the floor. Mark the centerline with a chalk line and plan your cuts around walls, drains, and fixtures. Avoid ending with very narrow tile strips along the edges. Adjusting the starting point slightly usually creates a more balanced finished design.
Step-by-Step Mosaic Tile Installation Process
Follow these installation steps to ensure your mosaic flooring is level, secure, and professionally finished.
Step 1: Apply Thinset Mortar Correctly
Spread a thin layer using a 3/16-inch V-notch trowel, holding the tool at a consistent angle to create even ridges. Press mesh-backed sheets firmly into the mortar for maximum adhesion, then use a tile float to level the surface and eliminate lippage.
Step 2: Place Mesh-Backed Mosaic Sheets
Carefully place the mosaic sheet into the mortar while the thinset is still workable. Press gently using a tile float or grout float to ensure full contact. Do not press too aggressively, as too much pressure can push mortar upward between the tiles and create uneven grout lines.
Step 3: Prevent Visible Sheet Lines
One common problem with mosaic installation is visible grid lines between sheets. To avoid this:
- Slightly stagger neighboring sheets when possible.
- Blend the edges of each sheet before the mortar sets.
- Check grout spacing between individual sheets.

Take extra time during installation to make sure the mesh sheet edges are invisible after grouting. This is one of the biggest differences between an average DIY installation and a professional-looking finish.
Step 4: Cut Mosaic Tiles Around Edges and Drains
Use a wet saw for clean cuts through porcelain or stone pieces. For mesh-backed sheets:
- Cut the mesh backing with a utility knife.
- Remove individual tiles if detailed adjustments are needed.
- Use tile nippers for small shaping work.
Work carefully around drains and corners to maintain consistent spacing.
Finishing Touches: Grouting and Sealing
Once the thinset has fully cured, usually after 24 hours, you can begin grouting.
Selecting and Applying Grout
Choose sanded grout for joints wider than 1/8 inch to prevent shrinkage, or unsanded grout for tighter joints. Select a color that either blends with your tiles or contrasts to highlight the mosaic pattern. Use a grout float at a 45-degree angle to pack the gaps firmly.

Cleaning and Long-term Sealing
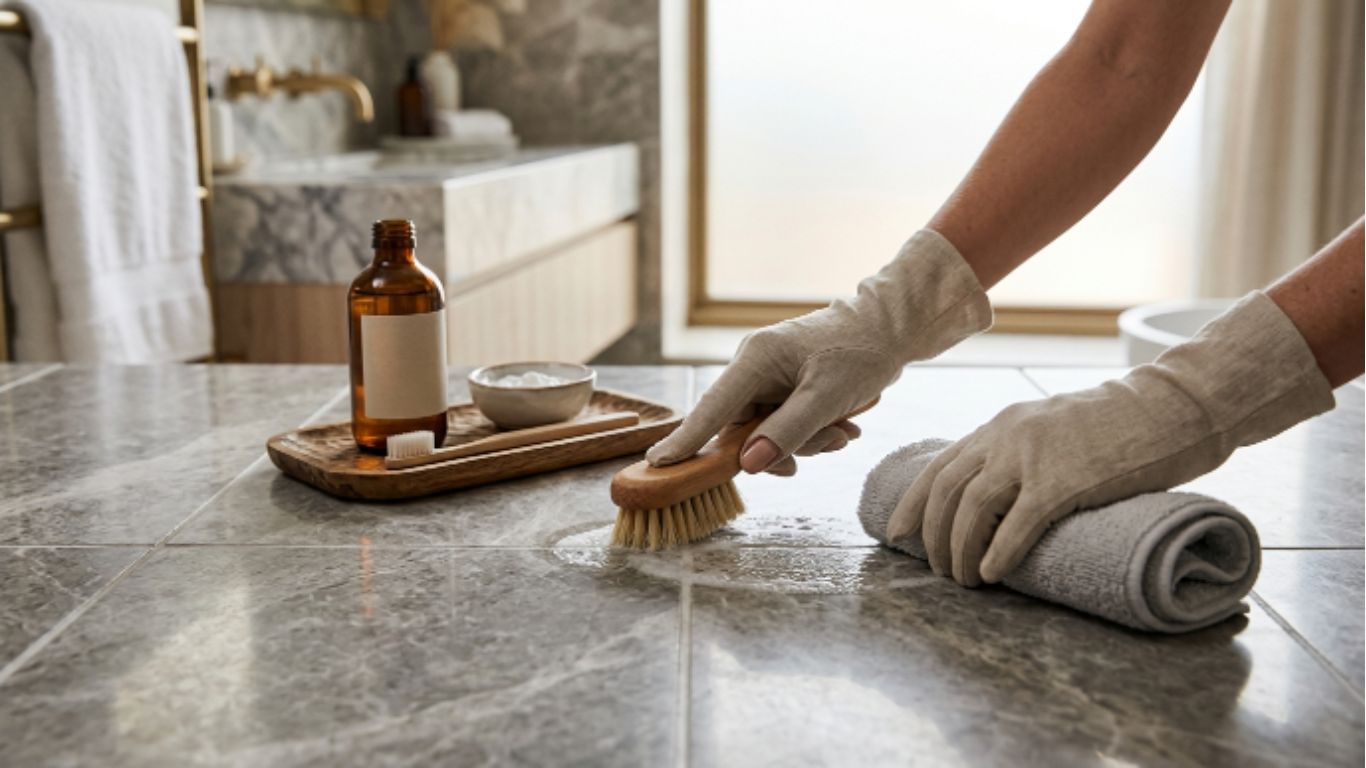
Once set, remove excess grout with a damp sponge before it hardens. Apply a high-quality, water-resistant sealer to protect against stains, moisture absorption, and discoloration. Establish a regular resealing schedule, typically every 1 to 2 years, to maintain a waterproof barrier.
Common Mistakes and How to Avoid Them
Choosing the Wrong Mosaic Tile for Flooring
Not every mosaic tile can handle foot traffic. Selecting decorative tiles without checking floor suitability can cause damage. Always confirm the tile is rated for floor installation, and choose durable, floor-rated mosaics for high-traffic, wet, or shower areas.
Installation Over an Uneven Surface
An uneven surface can cause cracks and tile failure. Proper subfloor preparation and waterproofing ensure strong adhesion, prevent moisture damage, and improve long-term durability.
Using Too Much or Too Little Adhesive
Improper adhesive application leads to uneven tiles, weak bonding, and safety hazards. Use the right amount of mortar and plan layouts carefully for a smooth finish.
Skipping Sealing and Maintenance
Natural stone mosaics need sealing to prevent stains, moisture absorption, and discoloration. Regular cleaning and maintenance preserve their appearance and extend their lifespan.
Conclusion
Installing mosaic tile on a bathroom floor is a rewarding way to create a durable and visually unique space. The key to a successful installation is careful preparation, proper waterproofing, correct thinset application, and attention to small details.
By choosing the right mosaic material, preventing sheet lines, controlling mortar placement, and selecting the correct grout, you can achieve a professional-looking bathroom floor that lasts for years.
At Mosaicenter, we offer a wide selection of premium mosaic tiles designed for beautiful bathroom and shower applications. Explore our collections to find the right style for your next project.
Ready to install your bathroom tiles with confidence? Choose high-quality mosaic tiles from Mosaicenter and bring your dream bathroom design to life. Contact our support team for a professional consultation.
Frequently Asked Questions About Mosaic Tile Installation
What are the disadvantages of using mosaic tiles?
The primary drawbacks include a higher cost per square foot and a more time-consuming installation compared to large-format tiles. Additionally, the increased number of grout lines requires more frequent cleaning to prevent mold and stains.
Do I really need a cement board under mosaic tiles?
Yes. In bathrooms, cement board is critical because it is moisture-resistant and provides a rigid, stable surface. Unlike standard drywall, it won't swell or degrade when exposed to humidity, preventing the tiles from cracking or loosening.
How do I prevent lippage when installing small mosaic tiles?
Avoid over-applying mortar, which can push tiles upward. Use a notched trowel for even distribution and a flat tile float to press the sheets firmly and evenly into the adhesive, ensuring a flush surface.
How often should I seal my bathroom floor grout?
Most bathroom grout should be sealed every 1 to 2 years. However, high-traffic areas or porous mosaics may require more frequent sealing.
Can I install mosaic tiles over existing flooring as a DIY project?
Yes, if the existing floor is level, stable, and clean. Uneven, damaged, or unsuitable surfaces require proper preparation before installation.

Halil I Oguz
Founder & Tile Expert
Halil I Oguz is the founder of Mosaicenter, the natural stone and porcelain tile supplier he launched in 2018 and now runs across the United States and Canada.
He leads the company's product selection and writes its technical library, covering DCOF slip ratings and ADA compliance, TCNA installation standards, and the selection and care of natural stone.
His work as a founder has been featured in Authority Magazine. Read full bio →


Leave a comment
This site is protected by hCaptcha and the hCaptcha Privacy Policy and Terms of Service apply.